Author: Mama

My Autumn Mailbox Adds Curbside Color

My Autumn Mailbox Adds Curbside Color

autumn mailbox

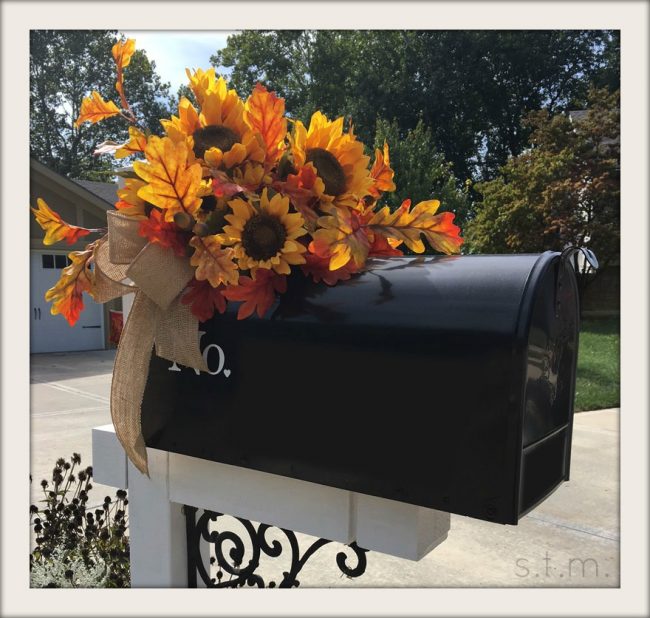
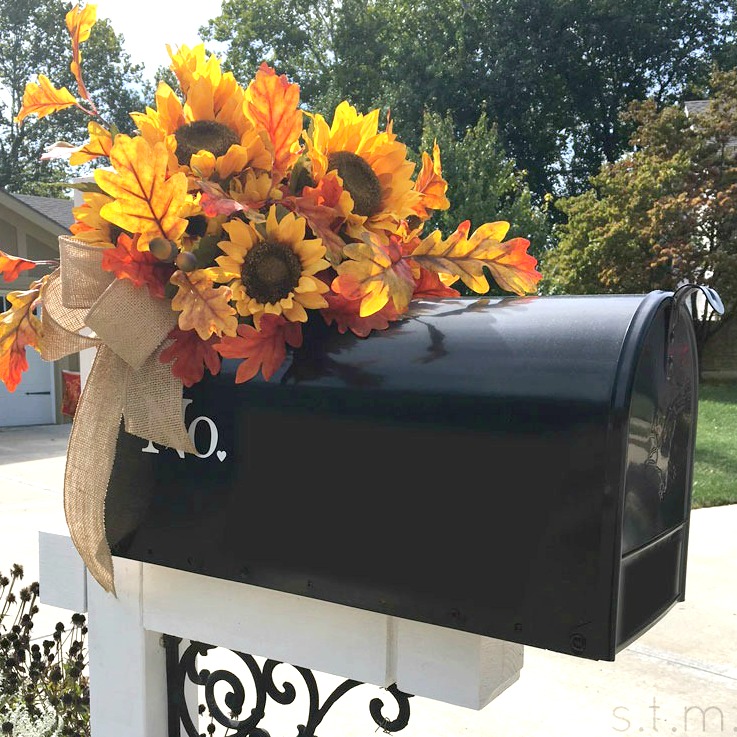
Although today’s cloudy skies looks nothing like the day I took these photos of my autumn mailbox, I decided to share them in hopes of bringing a bit of sunshine and inspiration into your day.

Since all the flowers around my mailbox have finished blooming, I’m left with a bunch of dead heads and green leaves, so I wanted to bring some color to the curbside. I will soon clip the dead flower tops once the yellow finches have polished off all the seeds before winter.

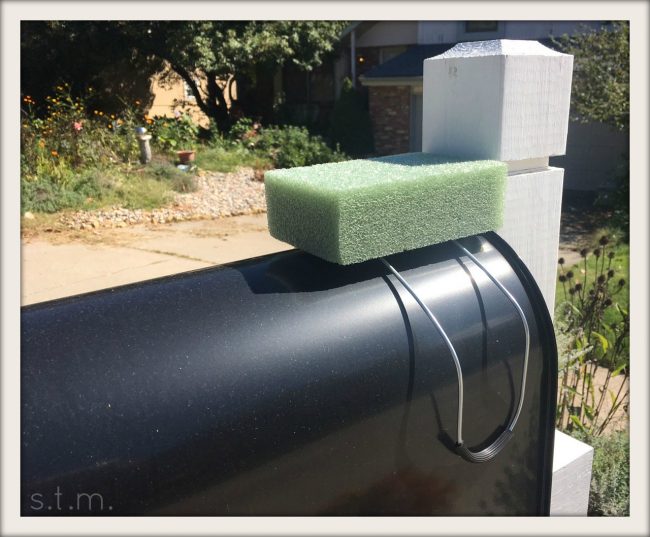
This little box top arrangement was super easy to create with just a few necessities. I started with a floral saddle created for just such a thing (and headstones too, but our project is much more fun). Bend the sides of the saddle to firmly grip your mailbox and wrap the foam with dried Spanish moss. You can purchase bags of the moss for cheap at most craft stores. You don’t need to adhere the moss with anything, because your floral stems will hold it on.

autumn mailbox

Now it’s time to start poking in your pretty stuff. I used one bush of sunflowers and one bush of oak leaves (on sale at Michael’s), but I also added some smaller flowers I had around the house to fill in some bare spots. You will need some type of wire nippers to trim the flower stems to length, and this is probably the most difficult step in this project. Those thick stems can be tough to cut, but with the correct tool you shouldn’t have a problem.

For the finishing touch, I added a large bow made of wired burlap ribbon to each side of the arrangement. I made the bows and adhered them using wired floral picks (also available at craft stores). The bows add a nice touch and also help cover the sides of the saddle.

That’s all it took to create this fun mailbox topper that should last until Christmas décor time, but I hope it withstands the elements well. I’m sure the quality of my contents will play a part in this, but so far the rain and wind haven’t affected it a bit.

 

Track the Days Until Trick-or-Treat

Track the Days Until Trick-or-Treat

Track the Days Until Trick-or-Treat

ReviewDisclaimerNew

Hello October! I’m so excited to welcome the month, which also means hello Halloween. I’ve slowly been sprucing up the homestead for fall, but today is officially decorating day for bats, spiders and all things spooky.

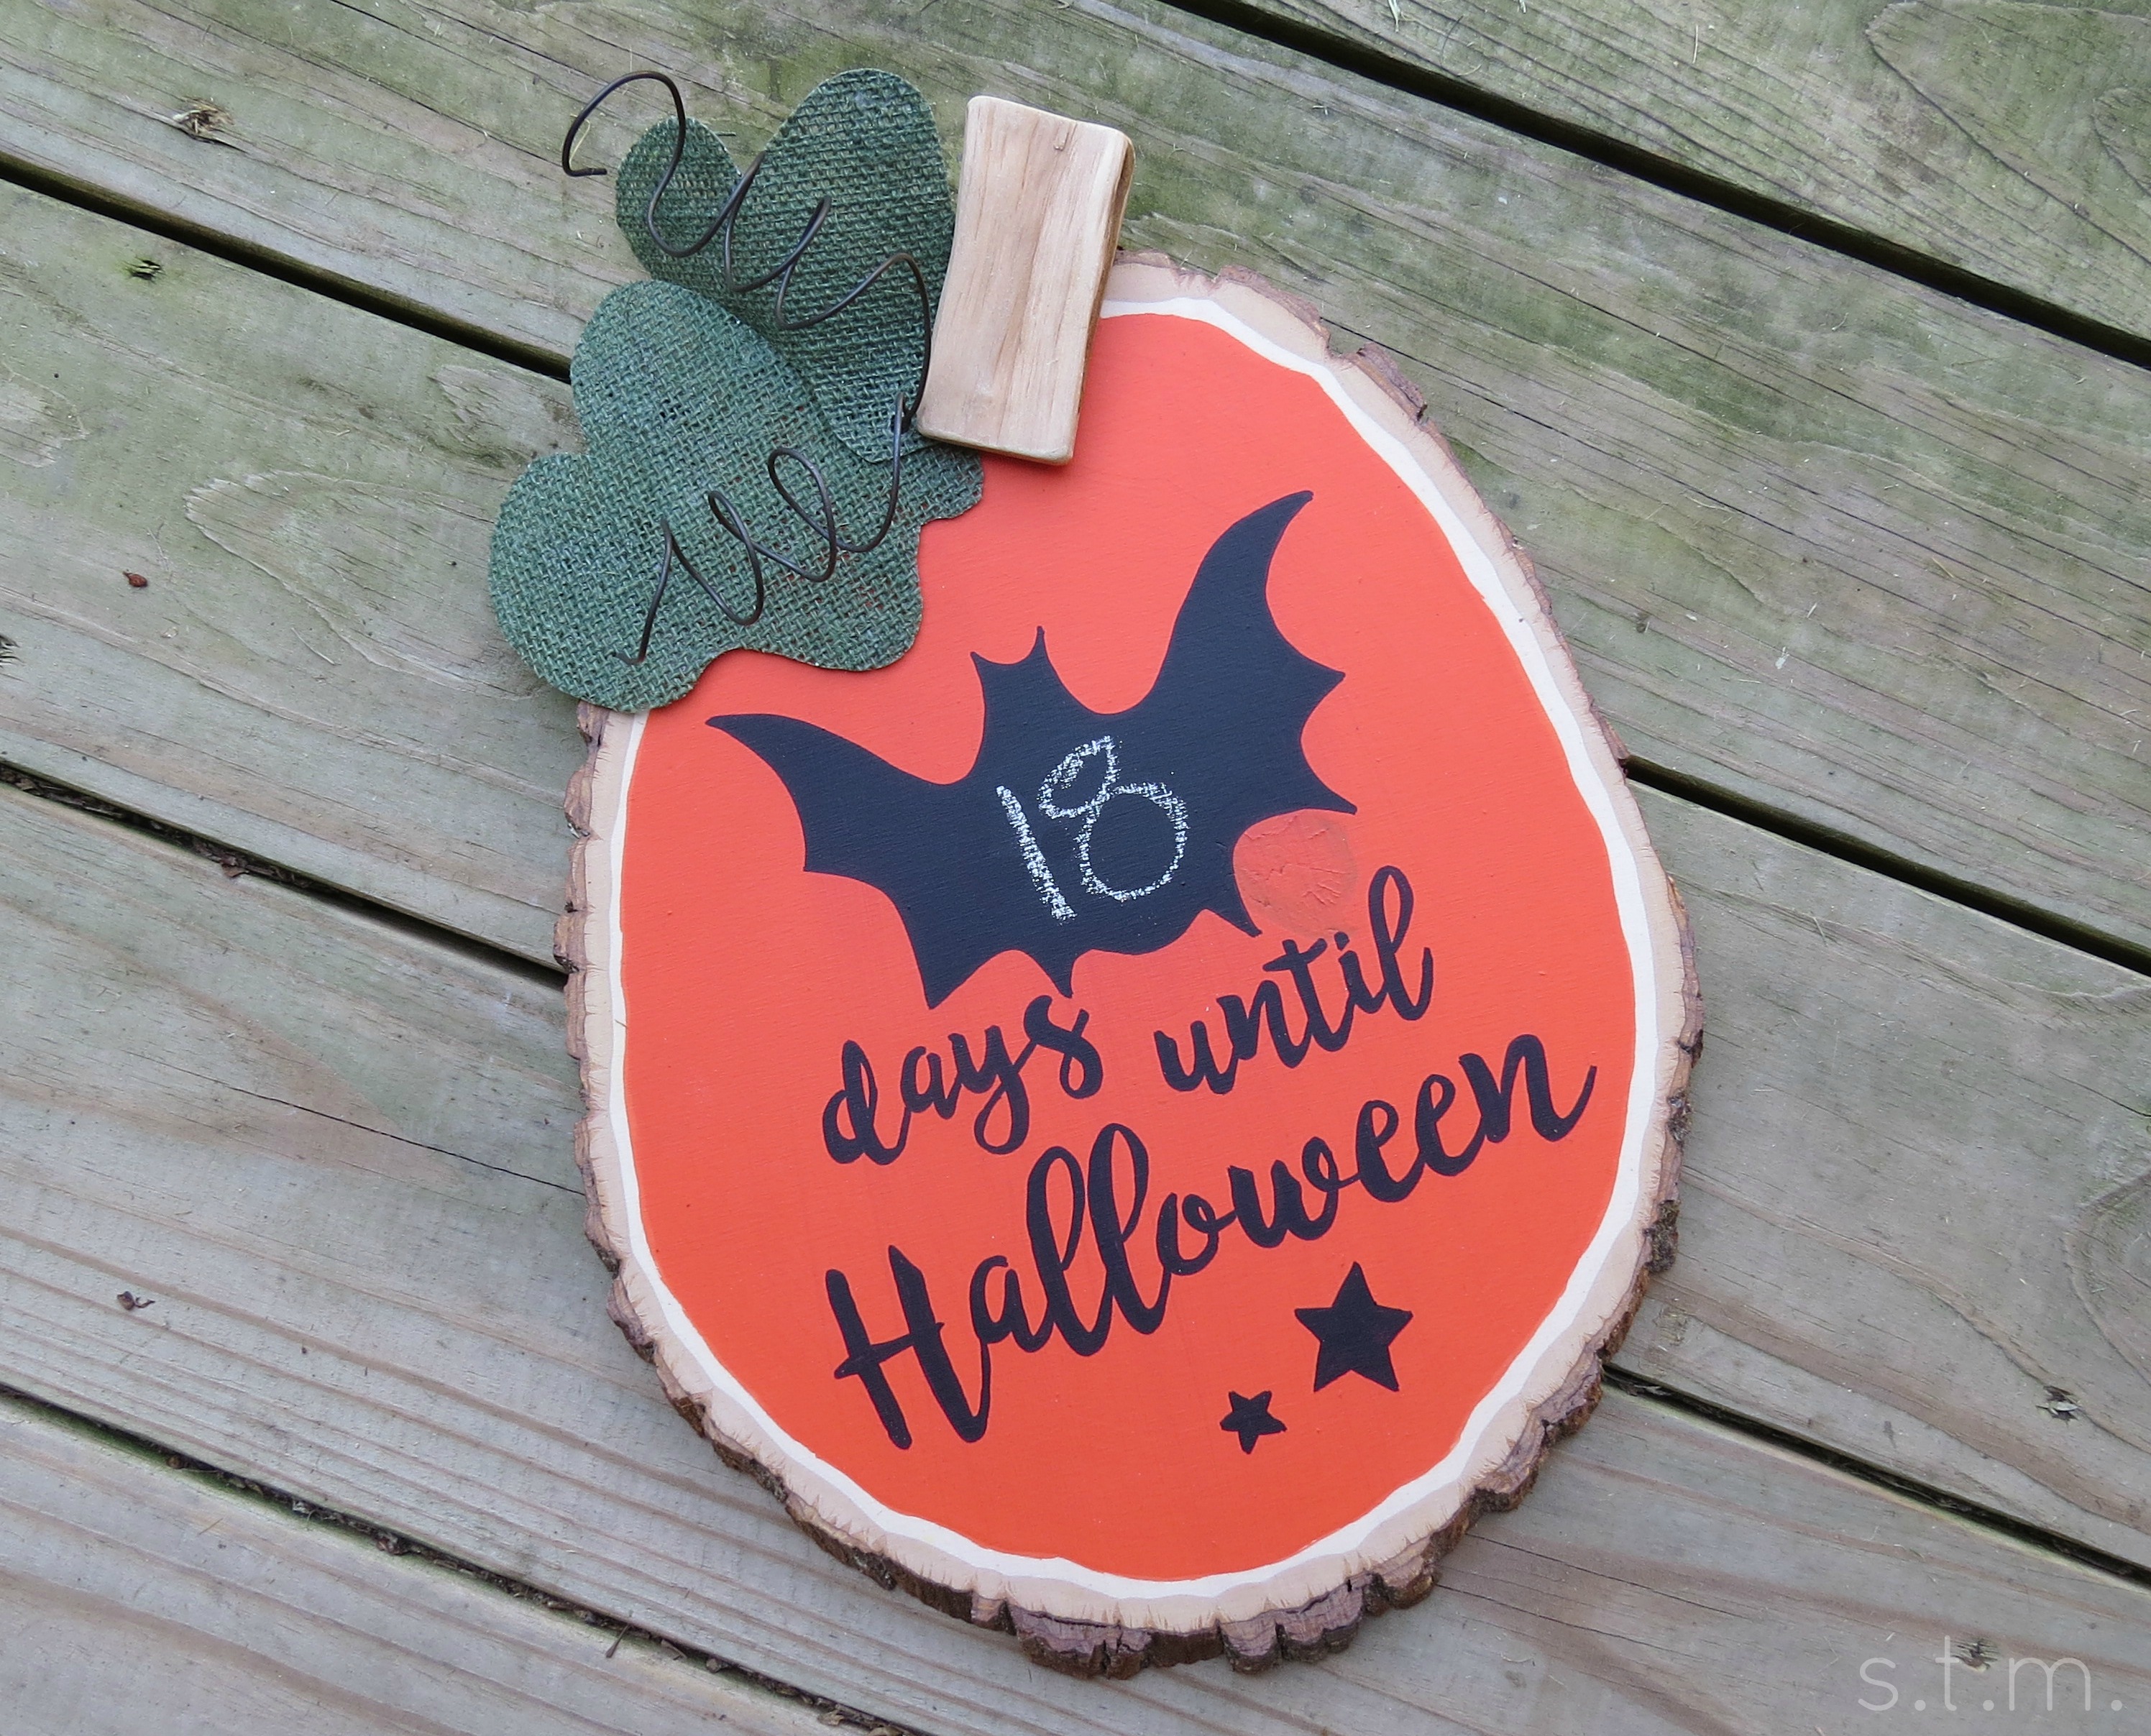
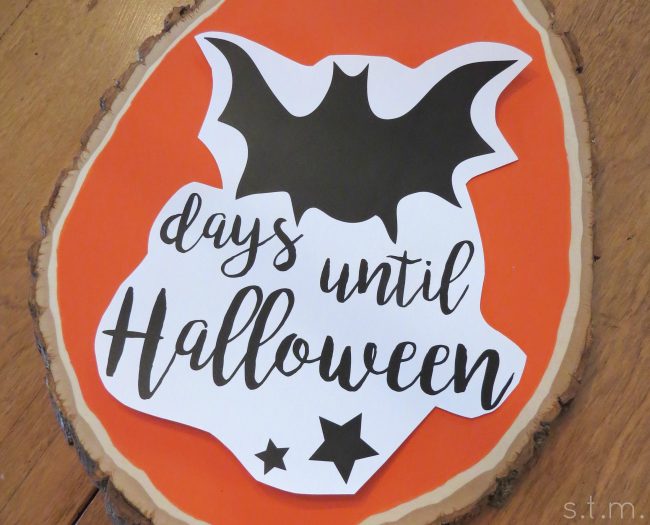
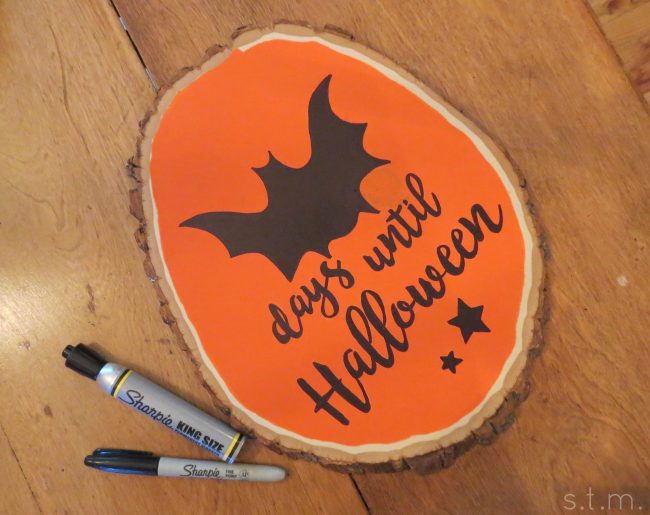
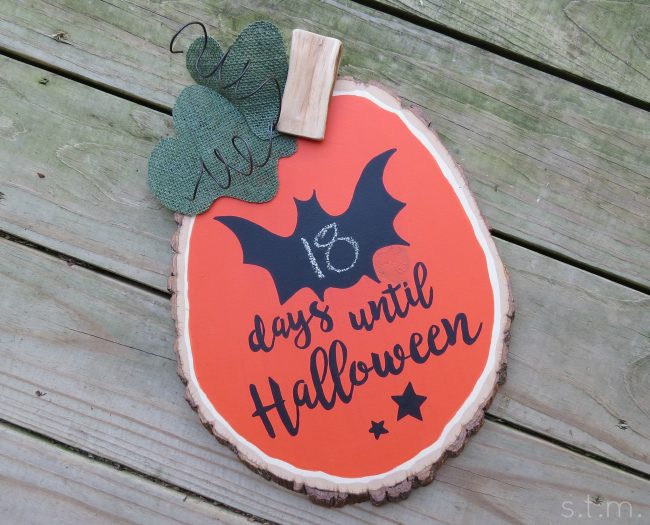
As we count down the days until Halloween, what better way to keep track than with a crafty chalkboard pumpkin. I used the last of three large wood centerpieces from Oriental Trading to create this cute countdown calendar and I used the same basic technique as I did for the teacher’s apple from August.

Track the Days Until Trick-or-Treat

Track the Days Until Trick-or-Treat

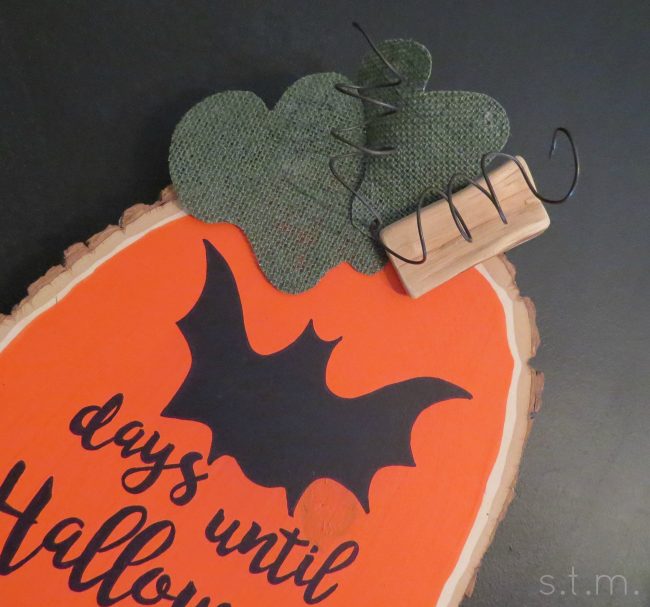
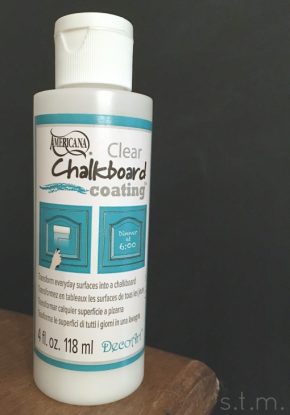
pumpcount5The main difference with this project (other than the obvious change of color) is the finishing technique. Instead of wax, I used a couple of coats of Americana’s Clear Chalkboard Coating over the entire pumpkin face. This product creates a flat chalkboard finish on just about any surface. I really like this stuff, because I can turn any color of paint I already have into a chalkboard without spending loads of money on limited choices of specialty paints. This pumpkin also differs from the apple with the addition of two pumpkin-shaped leaves and some wire spirals, which thread through a hole and create a hanger on the back.

tracking the days to trick-or-treat

This cute little pumpkin is a great way to track the days until trick-or-treat, and you can easily make your own in just a few hours. You can find some of the products used here and lots of additional Halloween ideas at Oriental Trading online.

Oriental Trading sent me some of these products used in this project for review,
but all opinions are my own.

Tea Time with the Boys and a Stuck?! Sketch

Tea Time with the Boys and a Stuck?! Sketch

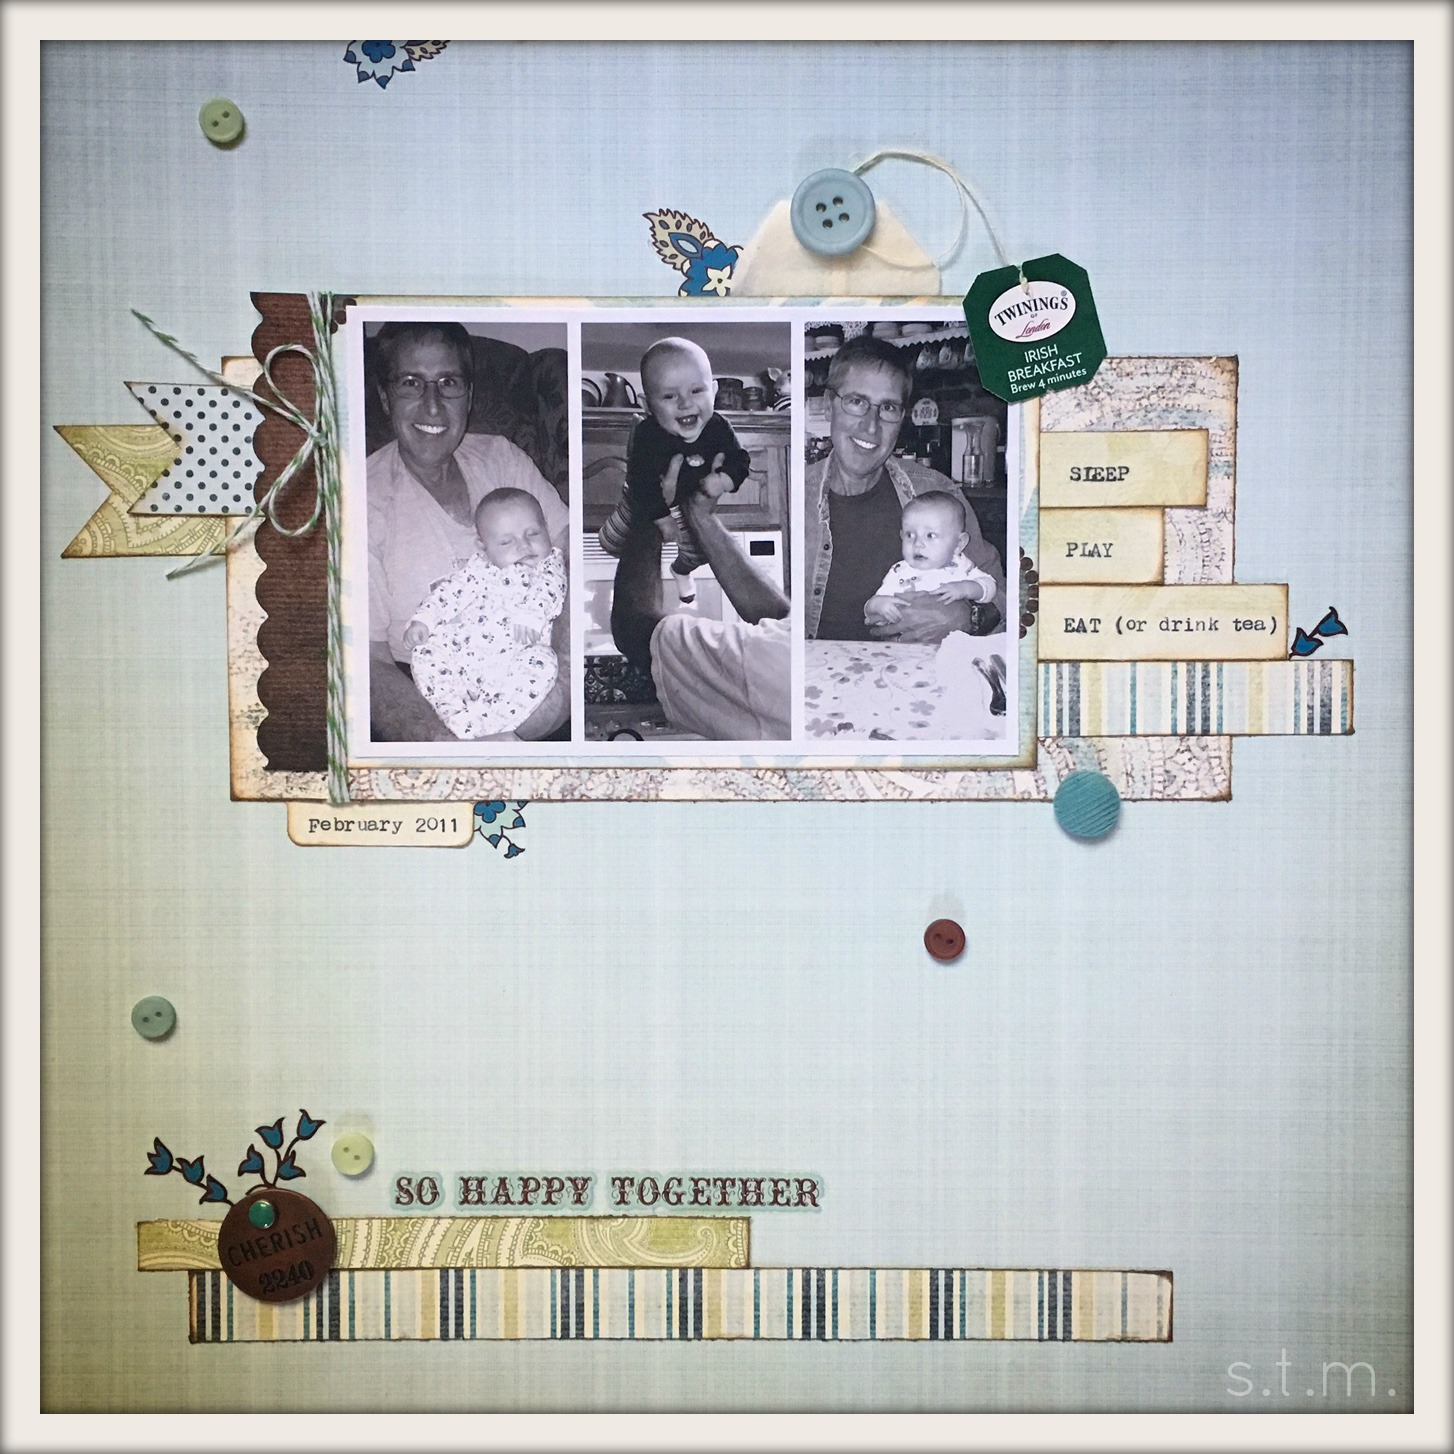
teatimelayout

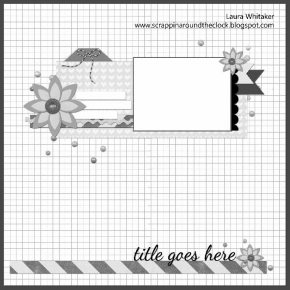
A Stuck?! sketch strikes again as I near the end of documenting February 2011. I have one more spread that should about take care of the month, but I’m quickly realizing that they don’t make an album big enough for what I’m unleashing. . . wha ha ha!

stuck?! sketchOkay, so back to the matter at hand. I loved this simple sketch but I wanted/needed to use three photos instead of one, so I simply made a collage of sorts that was just under 4×6 and put everything together with just a bit of tweaking. Absolutely everything on this layout except the metal “Cherish” circle, the tea bag and the twine is from the Happy Together collection by Fancy Pants Designs. I found this stash in a plastic bag with the note “Return to Shari what you do not use!” Oops, sorry sis, I just keep using it. . .

I love the muted colors of this collection and along with the rub-ons, buttons and brads this kit can speak to all things feminine or masculine; hence I was able to document my boys and our trip to the tea room without being to frou-frou. I’m not sure either one of my boys appreciated our dining experience, but I was sure glad they agreed to go.

Page 39 of 157
1 37 38 39 40 41 157