Author: Mama

Solar Eclipse Quite the Sight in KC

Solar Eclipse Quite the Sight in KC

solar eclipse

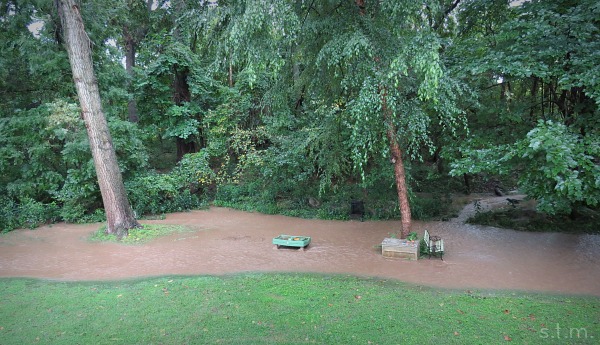
Wow, what an exciting day in Kansas City! We started the morning off with clouds and rain and polished off the afternoon with flash flooding. . . but thankfully the skies cleared inbetween so we could see today’s amazing solar eclipse in all his totality.

solar eclipse

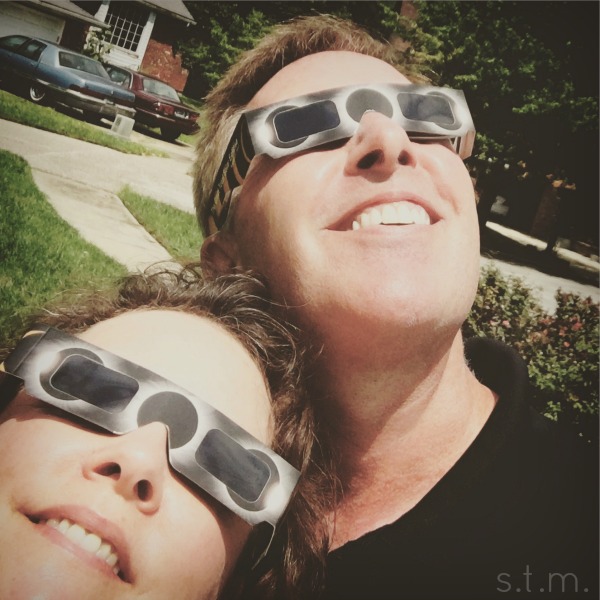
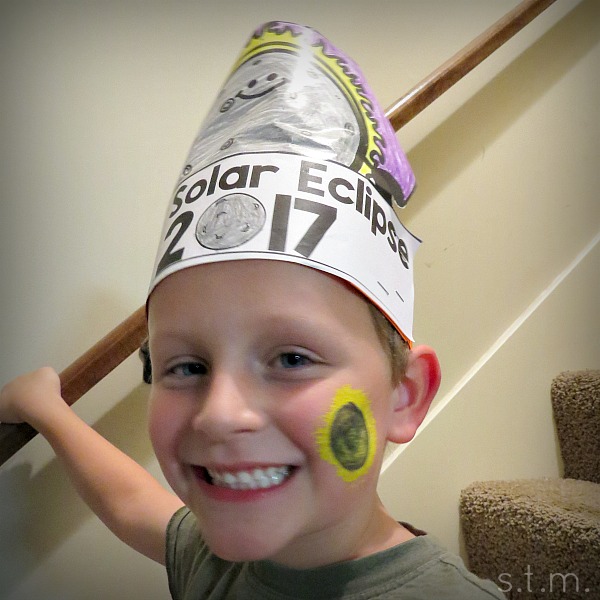
My husband came home for lunch and eclipse viewing from our front yard, and we were both amazed at how quickly the event came and went and at how cool it all really was. Considering it will be almost 200 years before we can witness another event like this from our own front door, we decided to make the most of our ISO approved glasses (thanks Barb S.) and stare into the sky for a good long while. While we wished our son could have witnessed the event alongside us, he was making his own memories at school while staring into his own little glasses and learning all about eclipses.

eclipse2eclipse3

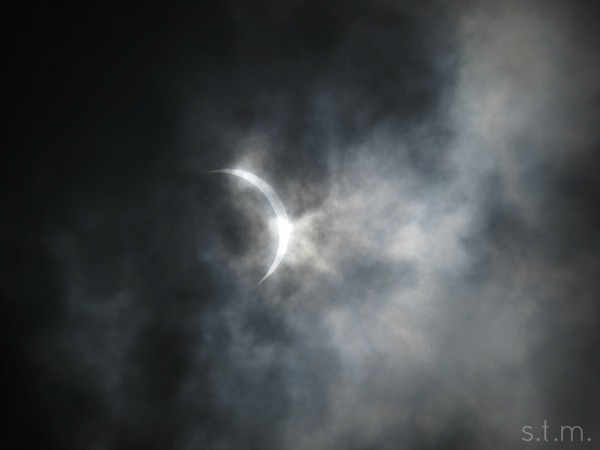
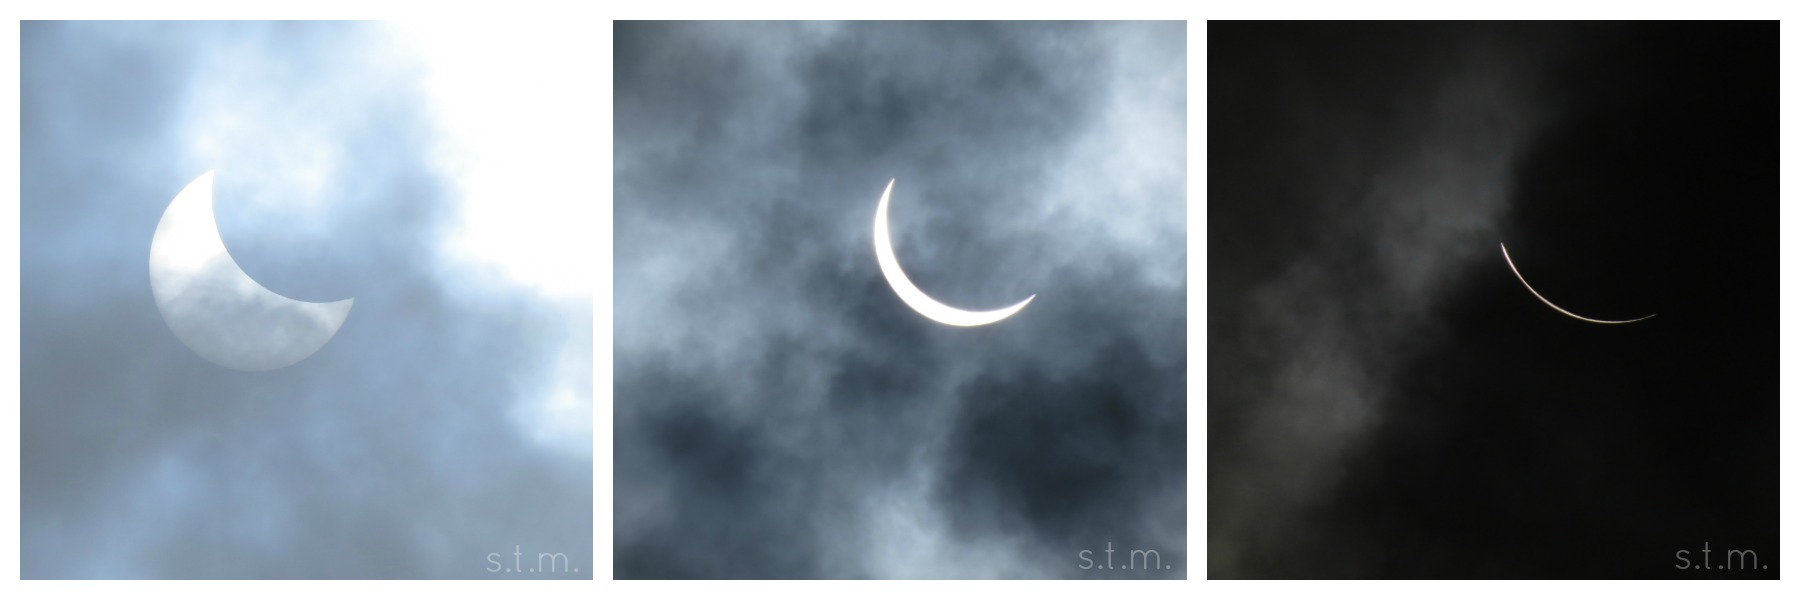
Luckily, I decided to give my digital camera a go by pivoting the viewfinder so that I could look down into it while my lens pointed to the sky. I got some really fun pictures of most of the eclipse, but had to battle intermittent clouds along the way. Unfortunately, I didn’t get a “totality” shot because it was only visible for a few seconds, but I did get to see it with my own silly-glasses-covered eyes and it was awesome!

I tell you, I never stop being amazed at the coolness of our vast universe, and this truly was an amazing day.

solar eclipse
Flooding in our backyard just two hours after the eclipse.
Saying So Long to Summer

Saying So Long to Summer

so long summer

so long to summerI wrapped up my week fittingly with this so long to summer card that I created for the latest Freshly Made Sketches challenge. As soon as I saw the sketch I immediately thought pocket, but when I couldn’t locate denim paper in my stash I switched to a bandana feel. The stitching around the edge gives it a bit more finished look and some added texture.

The papers came from different collections, but I was able to combine everything for a fun summer look, and of course I inked all my edges. I found the big yellow flower in my little drawer of floral and was delighted that it was the perfect size and color for my card. I know I made that thing years ago and it’s probably as old as my child (I guess it pays not to throw anything away).

With the quick addition of a wonky sentiment, this card was finished. Now I just have to write a note and send it to a friend.

Apple for the Teacher

Apple for the Teacher

ReviewDisclaimerNew

My little guy started school this week and amid all the hurry and scurry that comes along with adjusting out of summer mode and into full-on “my child is growing up way too quickly” mama mode, I managed to create a cute little something for our son’s first grade teacher.

Thanks to Oriental Trading, I had some great wood slices on hand that were intended for a fun fall project (coming soon), but when I saw one of the oddly shaped pieces my brain translated it into an apple instead. In my opinion, one should always keep the teacher happy (and yes, cool gifts and kind words are always a good thing).

apple for the teacher

To create this super cute project I started with some bright red acrylic paint and a medium brush. I used the dark inside line of the wood slice as a pattern instead of painting all the way to the edge, I gave it about three coats for some solid coverage and I let it completely dry.

For the name, I created and printed a template on my computer and trimmed it close to size. Then I covered the back of the template using a piece of chalk turned on its side. I placed the template on the painted wood chalk side down and traced around the words using a sharp pencil, and when I removed the template I had a near perfect outline on my apple. The good thing about this process is that if you mess up or don’t like the placement, just wipe off the chalk line and start the process over again. Thankfully I got this one right the first time, so I immediately started painting in the name using a standard black permanent marker. After the marker dried for a few hours I wiped on a coat of furniture wax, let it dry and wiped it back off for a bit of shine and protection.

I used a chip of drift wood (super cheap and sold in a bag) for the apple stem and a bit of green burlap for the leaves. I lightly coated one side of the burlap with Mod Podge before I cut out the leaves to add some stiffness to the material . It also keeps the burlap from fraying so much. I glued the leaves and the stem on with some heavy-duty craft glue and let it set overnight.

apple for the teacher

Before I sent it out the door with my little one, I hammered in a sawtooth hanger on the back and this teacher gift was complete. Although my husband thinks I’m trying to butter up our son’s teacher just as the year gets going, I did get a super sweet thank you note, and I think it’s fun to do a little something for our educators. . . goodness knows they have such an impact on the future of our children.

If you’re looking for some great teacher gift ideas of your own, try visiting Oriental Trading’s Learn365 page for all kinds of supplies and ideas.

Oriental Trading sent me some of these products used in this project for review,
but all opinions are my own.

Page 43 of 157
1 41 42 43 44 45 157