It’s so funny these days when I have a friend over that hasn’t been to my house in months. Without fail, and usually when they are putting on their coats and turning around to leave, each of my guests will stop, look, and exclaim, “You put pictures in your frames!”
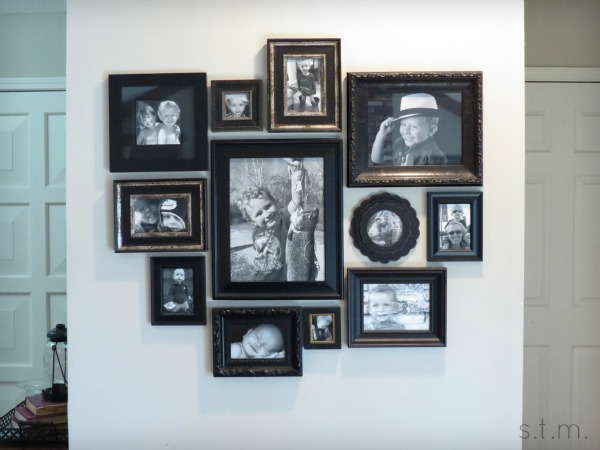
This sight to behold of which they speak is the gallery wall I finished in my hallway/living room. Apparently my frames hung empty for far too long, if it seems to be such an awe-inspiring revelation to so many of my friends. I did speak about it in last year’s resolution post, so I guess it really did need to get done and I guess it was a big old box I got to check off the list. Yay me!
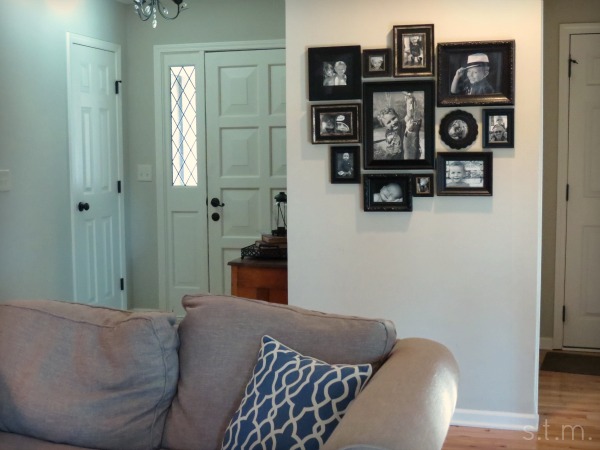
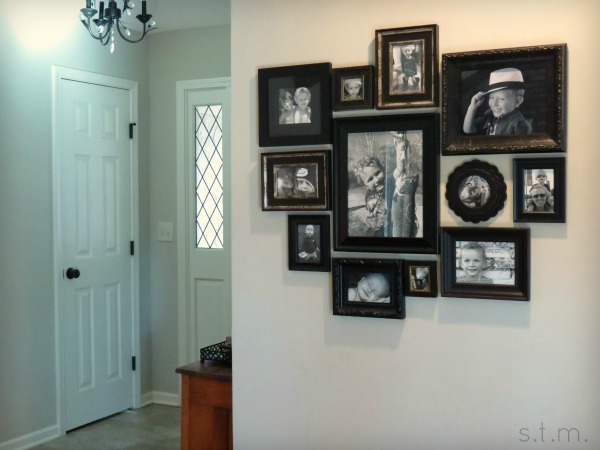
So today I wanted to show you my finished gallery wall and talk a little bit about how I accomplished it. I really like the asymmetrical look of it and the variety of textures, depths and shapes of my frames. I love the one little circle frame in the grouping, but it drives my sister-in-law crazy. To each her own, I guess.
As you can see in the picture, my gallery is on a small wall between two entry points at the back of the living room. It’s the main thoroughfare of our home and not wide enough for furniture of any sort, so I wanted to make an impact with this small collection of photos.
As far as placement goes, I used a couple of large pieces of butcher paper taped together and arranged my frames on it, in the floor. Once I found a composition I liked on the floor, I snapped a photo so that I could remember where everything went and traced the corners of each frame with a pencil. I made sure to vary the size, depth and texture of the frames for an “organized chaotic” look.
After everything was the way I wanted it on the floor. I centered, leveled and hung the butcher paper on the wall with painters tape and started hammering nails. I started with the large dominant frame in the middle and worked my way out in all directions.
Months later (and only after my preschooler started asking if we were related to the people in those frames), I finally picked and printed photos. I used Mpix to print the photos, because they do beautiful true black and whites. I ordered a few extra pictures, to see which ones to use in each frame, and I am very happy with the outcome.
Here’s my one tip about filling those frames — photos are fairly inexpensive, so order your pictures and fill your frames quickly (so that you don’t have to experience the same shock and shame I have endured) and change out photos that don’t quite suit you at a later date.
So here’s to your own gallery wall. May it be easy, swift and rewarding. . . and heaped with smiling faces you know.


I think we all have those projects that we procrastinate on until it’s silly. Your wall looks fantastic.
Oh, don’t I know it. I have a chair in my bedroom that has been waiting several years and two houses for its makeover. . . hopefully it’s day will come, sooner rather than later. Thanks for stopping by, Keri. Glad you like the wall.