“Beeing” Thankful for the OWH Sketch Challenge

“Beeing” Thankful for the OWH Sketch Challenge

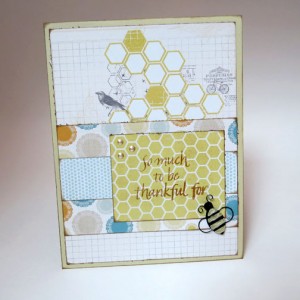
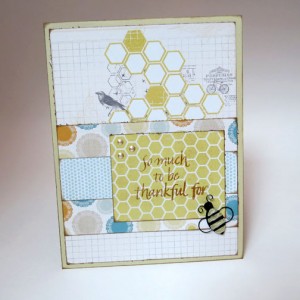
OWHbeecardThis is my interpretation of Operation Write Home’s latest sketch challenge. It was a simple sketch, but with a little embellishing and the right paper I think the possibilities are endless.

I used four coordinating papers from My Mind’s Eye called ”Follow Your Heart – Be Amazing.” I try to pick up these cute 6×6 packs whenever I see a good deal — they are perfect for card making. After I cut, inked and placed all my papers, I simply stamped and embossed the sentiment, added three dots of liquid pearls and attached a little bumble bee brad. I also colored over the bright yellow on the bee with the same liquid pearls just to tone it done a bit.

A Salute to Friendship

A Salute to Friendship

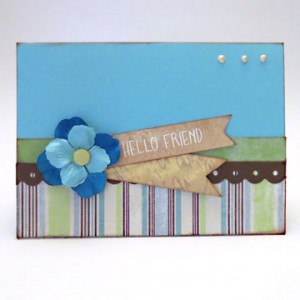
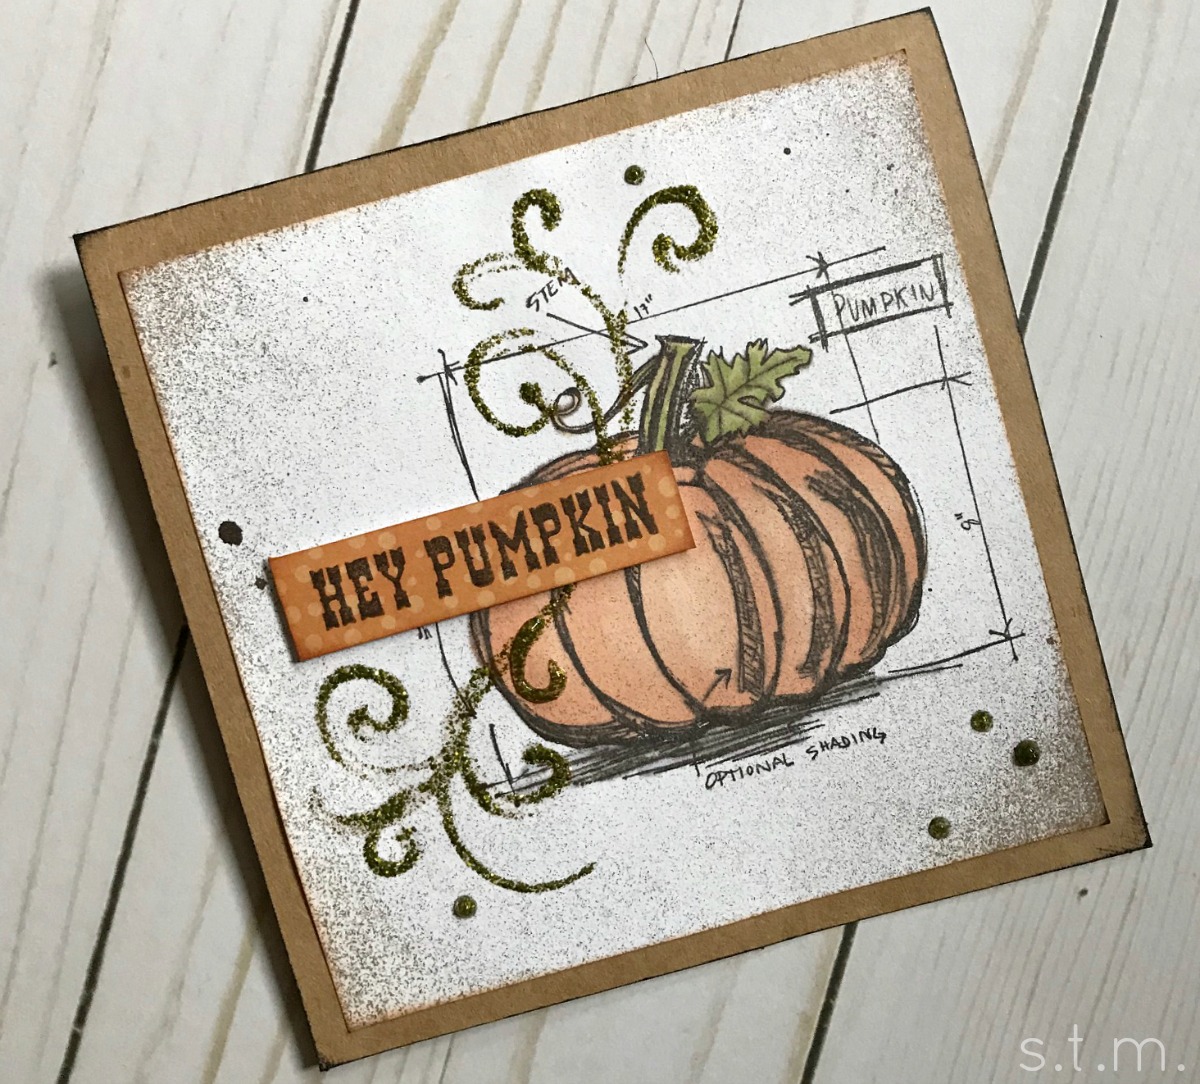
friendOWHSince I seem to be running a little slim on time this week, I decided to dip into my basic design bag and come up with a cute little friendship card for Operation Write Home’s Midweek Throwdown Challenge. I did however get out of my comfort zone as far as colors go. That bright blue is usually not my style, but I think it turned out quite cheery. Here’s to friendship and here’s to our heroes!

From T-Shirt to Self-Tying Paint Smock

From T-Shirt to Self-Tying Paint Smock

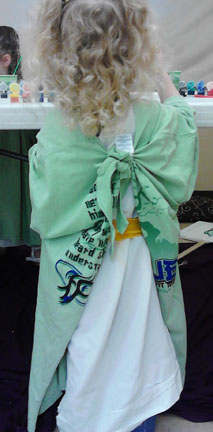
paintsmockOkay, so it’s not often that I have a completely original idea, so here’s one for the books. . . or the blog, or however the saying must go in today’s electronic age. It’s not like it’s an earth shattering discovery or anything, but it sure did make last week’s VBS painting projects much less messy.
I picked up several extra large t-shirts from my Mom’s church for a buck each and planned to use them as paint smocks, but I didn’t think the children would appreciate us pulling them on and off their heads each day so I started thinking about an easy way to make them into backwards vests that somehow stayed on their little bodies. I wanted them to have ties in the back, but I just didn’t have the time or gumption to do a sewing project involving that many shirts.

Suddenly the thought occurred to me that perhaps there was a way to cut the shirts themselves so that they would be equipped with built-in ties, and that’s when this idea was born (now if I’m the last VBS craft girl on the planet to ever think of this, please tell me now so that I’ll stop being so darn pleased with myself).

Materials:

  • good pair of scissors (I keep a couple of pair just for material)
  • t-shirt

cuthereDirections:

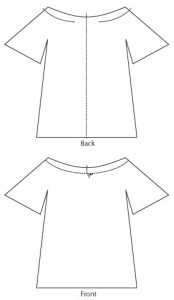
  1. Lay the t-shit flat on a hard surface with the back facing up.
  2. Cut straight up the entire back of the shirt from hem to neckband.
  3. Flop the shirt over to the front and cut a slit just through the center of the neckband.
  4. Then cut around the neck band toward the back of the shirt on both sides, stopping about an inch and a half from cutting off the entire neck band on each side.
  5. These little flapping pieces of neckband will now be your ties.

Just have your child(ren) put on the shirt with the open slit at the back and use your two pieces of neckband to tie a loose knot at the top. That’s just how easy it is to make a mess-saving painting smock.


Shared at:
Wow Us Wednesdays @ Savvy Southern Style


Page 144 of 157
1 142 143 144 145 146 157