New Knobs Know-How: Little Touches Have Big Impact

New Knobs Know-How: Little Touches Have Big Impact

Yes, I’m writing a post about knobs. While I know my husband is shaking his head about now, I hope the rest of you will stay with me and eventually nod your head or throw in an “awesome” or “a-ha” by the time we reach the end.

Let me start by saying that I love the little touches. The little touches that say, “I’m not builder’s grade,” “I may be small but I say a lot,” and “I make all the difference.” I love to change out the smaller items like knobs, pulls, faucets and curtain rods and put my own stamp on a space in a fairly inexpensive way. These accent items can make such a difference in the feel of a room, but their cost is minimal and their impact is grand.

new knobs

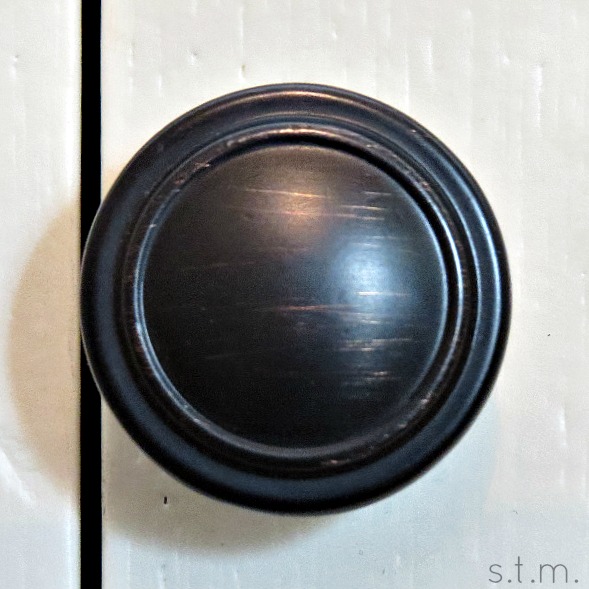
So here’s my closet’s new knobs. Never mind that I have very (and I mean very) basic closet doors, which may eventually be changed out with something more interesting one day, but for now they are here to stay and they are donning their new stylish crystal-ish knobs. So there’s nothing too exciting about this picture from this distance but I’m digging the change. Before, I had very basic oil-rubbed bronze knobs that lacked any sort of character and stood out like a sore thumb on the creamy white backdrop of closet doors.

Old knobs

This is a photo of the old closet door knobs — very basic and very boring. In fact, the contrast between the closet door color and the knob only emphasized the fact that they were small and had zero character.

newknob4newknob5newknob6

click on photos to view larger images

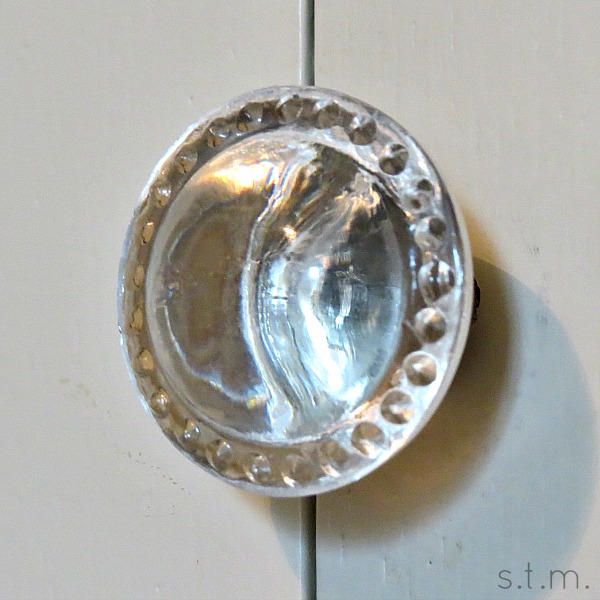
And here are the new knobs up close. I was going for subtle sophistication with this choice and think the look was achieved. I love the way the light shines through and bounces off the round knobs without garnering too much attention. These new knobs reflect the look of the round crystals hanging from the bedroom chandelier, and I also like the rubbed silver backs that mimic the muted silver mirror frame hanging on the adjacent wall. These little guys aren’t big, but I think they have a lot to say.

If you’re looking for some new knobs with a bit of character, you might try Hobby Lobby. They have a great selection of fun, whimsical and classy knobs that might just fit the bill, and they go on sale about every other week. While I ultimately went with the choice above, I did try a couple of other selections before making my decision.

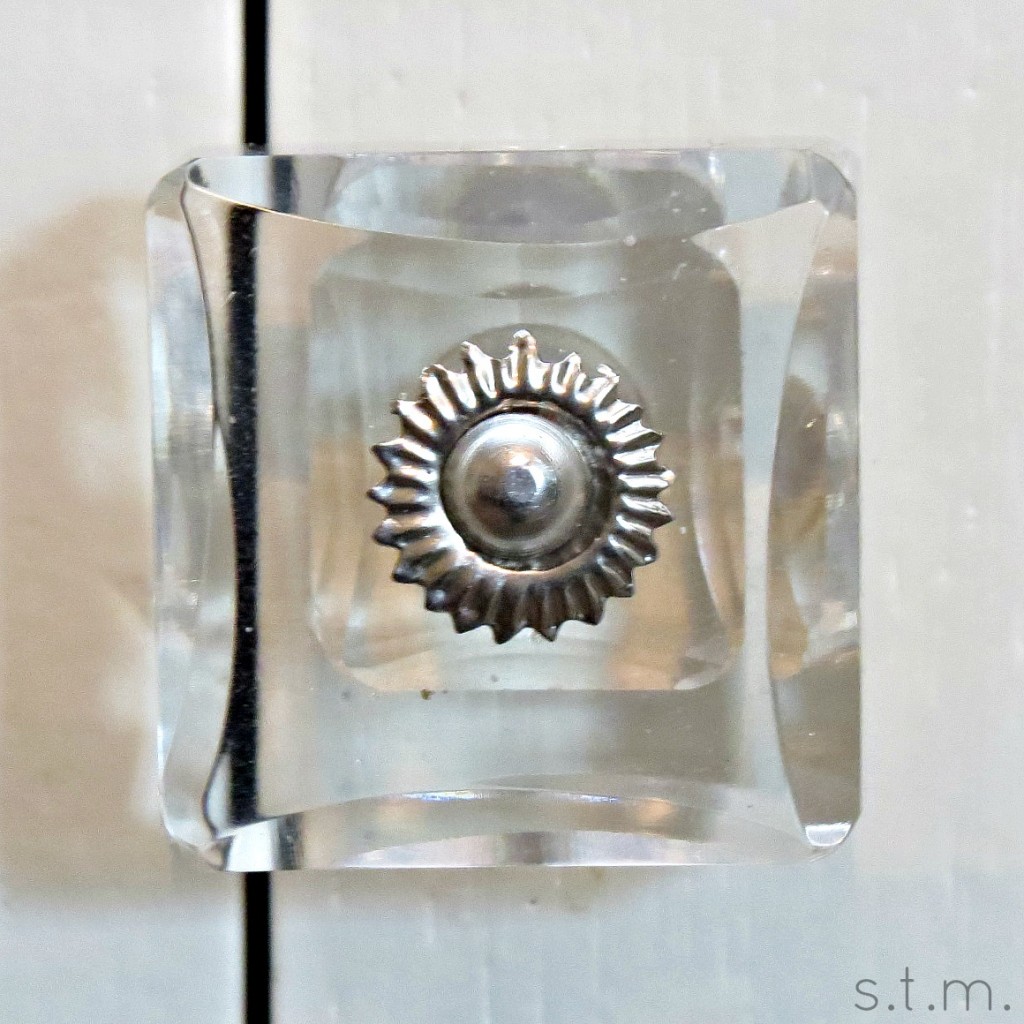
newknob2

I love these square crystal knobs. They are very classy and have a nice brushed silver center, but unfortunately they just didn’t work with my doors. As you can see, they overlapped the seam between the two door panels  so much that you could actually see the crack through the knob. Plus, trying to keep them perfectly square and in line with my doors was going to be a feat. While I opted out of this particular knob for my closet doors, I do have another life in mind for these little beauties.

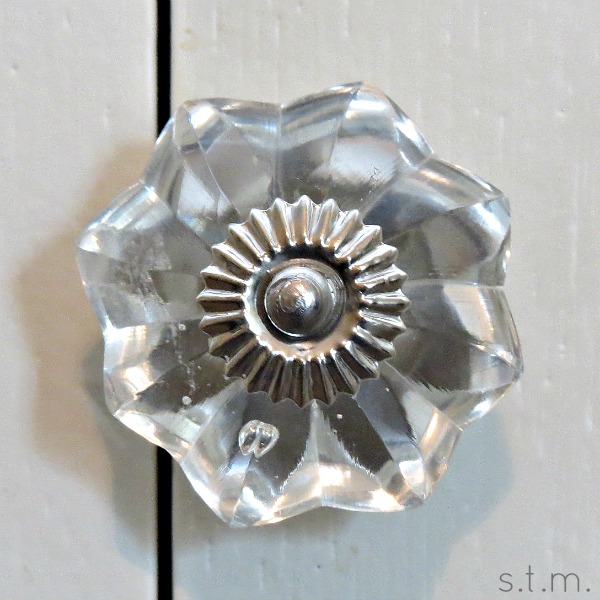
newknob3

This was another fun crystal knob choice. I love the imperfections and the roundish shape, but ultimately the embellishment was way too silver and the shape was just not sophisticated enough to jive with my chandelier. I saved my receipt and these little cuties will go back to the store.

So if you’re itchin’ for a little pick-me-up in your home on a minimal budget, try changing out your knobs. These little touches can have a big impact.

The Weight Is Over, or Not

The Weight Is Over, or Not

weight is overI haven’t shared my “weight is over” progress for a month now; because, frankly, there’s absolutely nothing to report. I mean nothing. I haven’t lost a single pound of my overindulging holiday weight and I’m still not any closer to running another 5k or wearing a bathing suit sans shorts and a t-shirt.

Let me tell you, when your family spends a couple of days at Great Wolf Lodge in February (Christmas gift from Mimi), it’s a real wake up call when you squeeze your lily-white self into a bathing suit and your chubby thighs hang out one end and your back fat squishes up over the other. TMI? Well it’s the truth. I donned a pair of shorts and a saggy wet t-shirt through the lazy river and down every water slide for nearly two days straight.

Maybe I’ve finally hit that age where eating “better” and working out “a little” just doesn’t cut it. Usually I can shed at least a few pounds just by being good, but it looks like my forty-something self will have to bring out the big guns this time around. Now I’m not sure what the “big guns” are, but I’ll let you know as soon as I figure it out.

Kid-Friendly Canvas Valentine Craft

Kid-Friendly Canvas Valentine Craft

canvas Valentine craftThere’s still time to make a little Valentine craft with your kids this year, and this easy child-friendly canvas and paint project may just be the ticket. With the aid of a few other moms and teachers, I helped sixteen preschoolers create their own fingertip heart prints yesterday at my son’s school party, and each child’s unique take on the project was a success. Some went with the dotting method, some picked the smearing approach, and then some just went all out freestyle; but they all used their fingertips to paint, and on the back of every canvas was this sweet saying I penned ahead of time:

I made this little heart with fingertips of mine,
just to say I Love You and Happy Valentine.

So here’s how we put this Valentine craft together.

Materials:

  • 4×4 cardboard mounted canvas (I purchased mine at Michael’s, $4.99 for 4 plus a coupon discount)
  • vinyl paper (or other material that will stick to the canvas. Note: contact paper did not work.)
  • scissors or die-cutting machine
  • hole-punching device (I used my Crop-a-dile)
  • washable paint
  • ribbon
  • blow dryer (optional)

Instructions:

  1. Punch two holes at the top of your canvas board, one at each corner.
  2. Cut a heart out of the sticky paper using your scissors or die-cutting machine. I used my Cricut since I had to make so many.
  3. Peel the backing off the heart and stick it to the front of the canvas. Make sure you press down the edges well so that paint doesn’t seep under it.
  4. Using just a pointer finger, have your child paint the canvas. The idea is to make dots, but some children may not find this fulfilling, so freestyling may ensue. Whichever method makes your child happy, encourage him/her to paint completely around the heart, overlapping the sticker edges.
  5. Let the canvas dry. You can use a blow dryer to speed up the process.
  6. Pull off the sticky heart to reveal the white canvas under it.
  7. Write or print out and place the little fingertip rhyme above on the back of the canvas.
  8. Thread ribbon through the holes in the top of the canvas, tie knots and hang.

My son had such a good time making this Valentine craft that we just might make some more.  After all, I do know a couple of grandparents who might like to have their own.


Page 77 of 157
1 75 76 77 78 79 157