Tag: family

Kid-Friendly Canvas Valentine Craft

Kid-Friendly Canvas Valentine Craft

canvas Valentine craftThere’s still time to make a little Valentine craft with your kids this year, and this easy child-friendly canvas and paint project may just be the ticket. With the aid of a few other moms and teachers, I helped sixteen preschoolers create their own fingertip heart prints yesterday at my son’s school party, and each child’s unique take on the project was a success. Some went with the dotting method, some picked the smearing approach, and then some just went all out freestyle; but they all used their fingertips to paint, and on the back of every canvas was this sweet saying I penned ahead of time:

I made this little heart with fingertips of mine,
just to say I Love You and Happy Valentine.

So here’s how we put this Valentine craft together.

Materials:

  • 4×4 cardboard mounted canvas (I purchased mine at Michael’s, $4.99 for 4 plus a coupon discount)
  • vinyl paper (or other material that will stick to the canvas. Note: contact paper did not work.)
  • scissors or die-cutting machine
  • hole-punching device (I used my Crop-a-dile)
  • washable paint
  • ribbon
  • blow dryer (optional)

Instructions:

  1. Punch two holes at the top of your canvas board, one at each corner.
  2. Cut a heart out of the sticky paper using your scissors or die-cutting machine. I used my Cricut since I had to make so many.
  3. Peel the backing off the heart and stick it to the front of the canvas. Make sure you press down the edges well so that paint doesn’t seep under it.
  4. Using just a pointer finger, have your child paint the canvas. The idea is to make dots, but some children may not find this fulfilling, so freestyling may ensue. Whichever method makes your child happy, encourage him/her to paint completely around the heart, overlapping the sticker edges.
  5. Let the canvas dry. You can use a blow dryer to speed up the process.
  6. Pull off the sticky heart to reveal the white canvas under it.
  7. Write or print out and place the little fingertip rhyme above on the back of the canvas.
  8. Thread ribbon through the holes in the top of the canvas, tie knots and hang.

My son had such a good time making this Valentine craft that we just might make some more.  After all, I do know a couple of grandparents who might like to have their own.


Make a Love Bug With Your Little One

Make a Love Bug With Your Little One

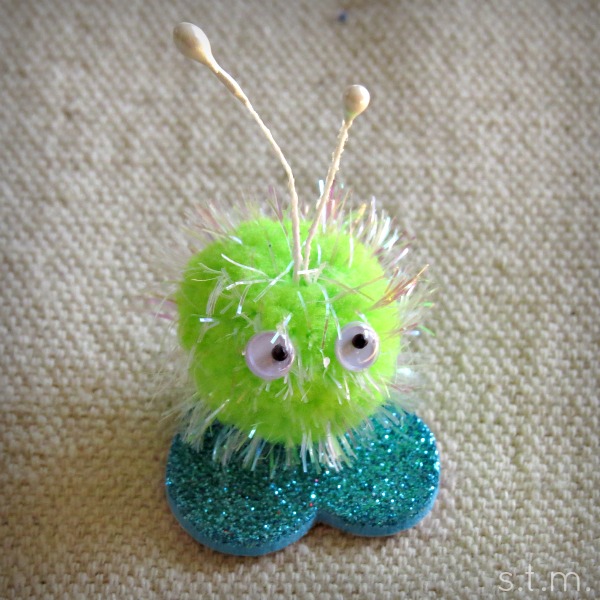
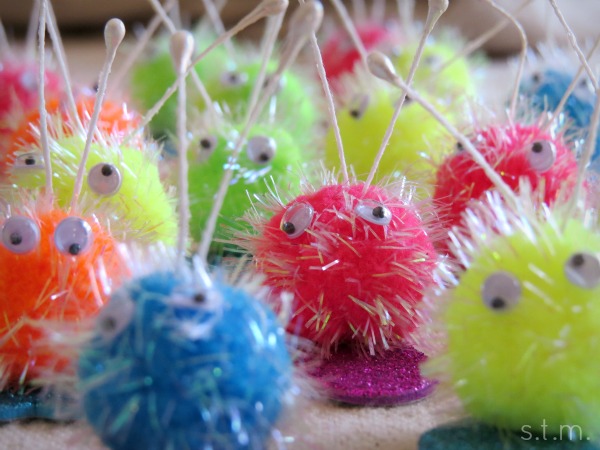
love bugs

love bugMy five-year-old son and I have been getting a little crafty for Valentine’s Day this year, and I just had to show off these cute little love bugs we made for his classmates. They were super simple to assemble, but you do have to factor glue-drying time into your crafty equation.

Materials:

  • small foam hearts
  • medium pom-pons
  • small google eyes
  • faux flower stamens
  • craft glue

Instructions:

  1. Glue a pom-pon onto a foam heart. Let the glue dry.
  2. Fold a flower stamen in the middle. Put a dab of glue at the middle and poke into the top of the pompom. Let the glue dry.
  3. Place two dots of glue on the front of the pompom and stick on the google eyes. Let the glue dry.

I told you to factor in the glue-drying time, didn’t I. Other than that timely process (and I did use a faster drying tacky glue), this craft project really is quick and easy. Why not create a mini love bug with your little ones, or make a whole army of them today.

A Real Mom’s Kitchen — Katie D. Claims Her Calm

A Real Mom’s Kitchen — Katie D. Claims Her Calm

A Real Mom's Kitchen

Welcome to A Real Mom’s Kitchen. This is the first of a monthly series that will take us inside the kitchens of real women to see how they actually use their spaces to keep the family nourished, get the academics done, keep the creative juices flowing and maybe even run a business or two. It’s all about reality, functionality, dreams and getting dirty, and most of these moms actually volunteered to let me through the front door with all my questions and my camera. Oh, and be sure to try the recipe at the end of each post, which is a featured family favorite meal (say that several times fast). One of these recipes might just become your new go-to dish. So, enough of the introductions, how about we start the visit to our very first home.

IMG_5339

Today we are visiting Katie D’s kitchen. I’ve known Katie for a couple of years now, but I had never seen her gorgeous kitchen until the morning I walked in with my notepad and camera. Katie is one of those gals who seems to have so much going on in her world, but never appears dazed, nor confused (hmmm. . . I’m not liking Katie very well right now). No, seriously, she is actually just one of those relaxed moms who will pour you a cup of coffee, grab a bar stool and chat about anything from preschool to Play-Doh.

She corrals a family of six, including her herself, her husband and four children ages 14, 10, seven and three. In addition to the numerous human bodies routinely running through her kitchen, she also shares her space with two very friendly (and very large) Great Danes, and from time-to-time, the family cat. Their home is actually where her husband lived as a child. It was purchased from his parents when they decided to sale.

IMG_5387

Thanks to Katie’s own snapshot, you can catch a glimpse of what the kitchen looked like before the remodel. They knocked down walls, opened up the dining room and created a super large island (thanks to her very handy husband, Patrick). Gone is the 80s; and instead, it has been replaced with a big beautiful traditionally styled room with fine finishes, granite countertops, stainless steel appliances and an openness that capitalizes on the large adjoining great room. According to Katie, she didn’t like her kitchen before it was remodeled, but now it’s the heart of her house.

1795258_10204381743413636_7705680568056850046_o

IMG_5361

A favorite feature of her current kitchen is the island and its open concept. She explained, “It’s the meeting space. When I’m cooking, I can see everyone and everything.” That being said, she would change one thing about the new design — glass-front cabinets. She finds them “charming” and wishes she had more than the single set they installed during the renovation. She definitely likes her choices of granite countertops and stainless steel appliances and think both are beautiful, but she did issue a kid-proximity warning as she pointed to a barely noticeable dent in the fridge.

IMG_5354

IMG_5372

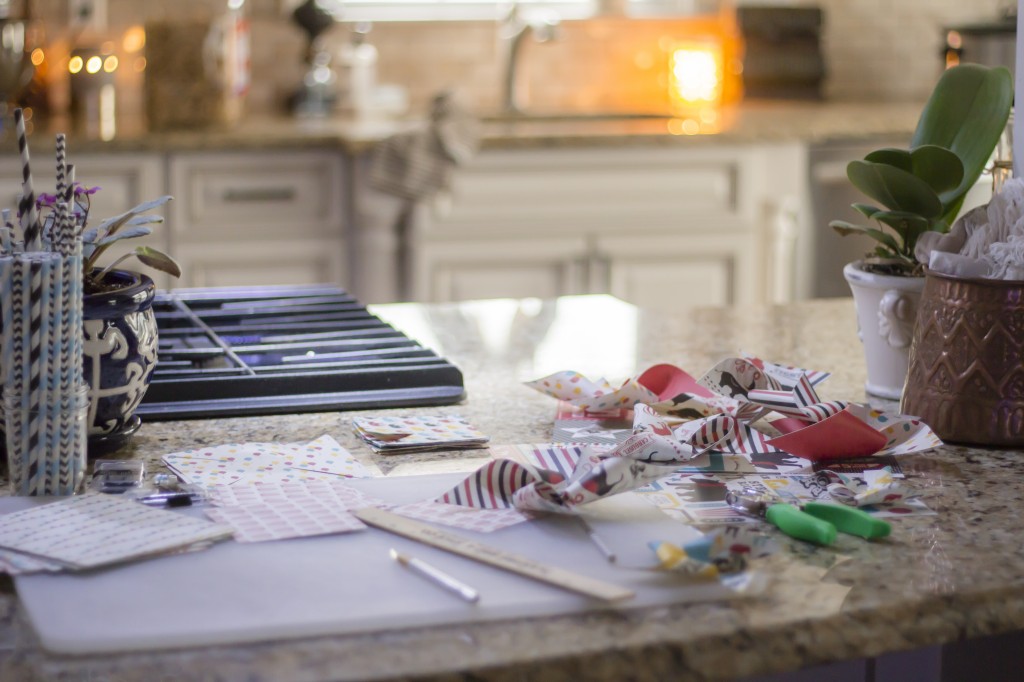
The whole point of this “real life” series is to see how people actually use and abuse their kitchens. Of course when you have camera-toting company scheduled to appear you feel the need to pick up the place at least a bit (I get it), but Katie assures me that what you see is real. She did fess up to the craziness of the family’s routine and the toll it takes on her kitchen most mornings, but she tries to reclaim her space first thing each day. “This is my calm,” said Katie, and her favorite way to relax is by stealing a few moments in her cute blue chair with a cup of hot coffee. Of course those moments can be precious for a busy mom, and even before I left the house, her three-year-old son, Sam, was asking for the Play-Doh and settling into his latest creation at the kitchen island. It’s apparently a favorite spot for mom crafts too.

IMG_5412

IMG_0052e

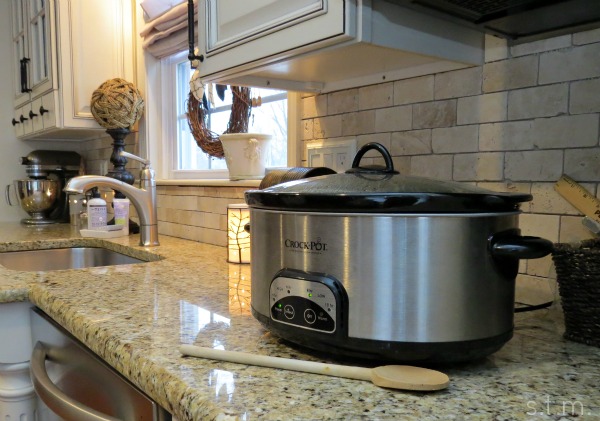
Katie confessed that she doesn’t really enjoy cooking, but thankfully her husband is quite the meal maker. I can tell you that her family pleasing recipe was simmering in the slow cooker while I was there, and it was smelling quite yummy. Apparently chicken chili is one of her favorite go-to dishes, but she never makes it quite the same way twice, tossing in a bit of this and a pinch of that in the process. Lucky for us, Katie agreed to think on it and somehow assemble instructions for us to follow. So as promised, here is her crowd-pleasing chili recipe for all of you, along with a word of thanks to Katie for the fabulous kitchen tour.

IMG_5341

Chipotle Chicken Chili
Serves 6
Slow cooker recipe for a family-favorite chicken chili
Write a review
Print
Ingredients
  1. 4 cans (15oz) Chili Beans
  2. 2 cans (15oz) Light Red Kidney Beans, drained
  3. 2 cans (15oz) Dark Red Kidney Beans, drained
  4. 1 can Ro-Tel
  5. 1 can Tomato Sauce
  6. 2 lbs Boneless Chicken Breast
  7. Chili Seasoning
  8. Chipotle Seasoning
Instructions
  1. Season chicken with chipotle seasoning and bake, then cube.
  2. In crockpot, add all beans, Ro-Tel, tomato sauce, cubed chicken, and favorite chili seasoning, and let slow cook throughout day.
Notes
  1. All quantities and varieties are by preference. To speed it up for morning prep, bake and cube chicken the night before.
https://www.smalltalkmama.com/
Page 15 of 33
1 13 14 15 16 17 33