Tag: gardening

Getting the Garden Going

Getting the Garden Going

seeds

I finally found a break in the rain and my schedule to get the garden going yesterday. My husband has handed over the veggies to me this year, but he was kind enough to rototill and prep the ground for me before the rains came pouring in during the last couple of weeks. So when the sun popped out yesterday, I donned my rubber boots, grabbed the hoe and put a few seeds in the ground.

So here is what’s planted thus far. Radishes, green onions, lettuce and spinach. We did get potatoes and large onions in before St. Patrick’s Day, but they are in large pots instead of the garden. I also have green bean and cilantro seeds ready to be planted; and Sutherlands had a vegetable sale this morning, so I managed to get up a bit early and grab a few tomatoes, peppers and strawberries to round out the early spring plantings.

Capturing a Few Spring Blooms

Capturing a Few Spring Blooms

pearbuds

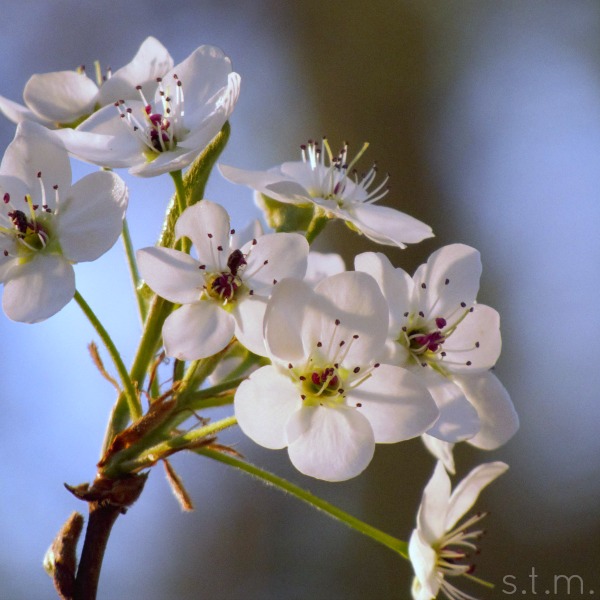
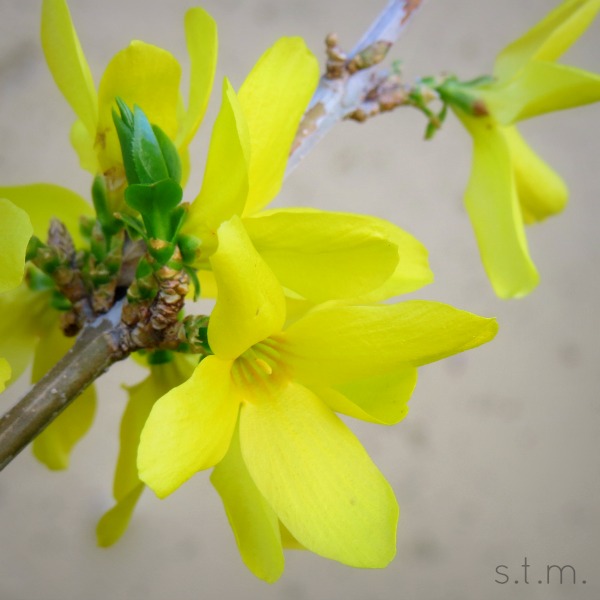
The daffodils finally bloomed last week, along with the forsythia and lone pear tree in our yard; so I took a few moments to snap some pictures while my son played away in the bright afternoon sun. I noticed as we spent the Easter weekend down south in Arkansas that most of their daffodils had already spent themselves, but we saw some beautiful forsythia along the way.

LomoDaffodilDaffodil2

wisteria


Age Terracotta Pots the Quick and Easy Way

Age Terracotta Pots the Quick and Easy Way

As Spring arrives and folks think about planting, I’ve noticed a lot of attention has been focused on terracotta pots and how to age them for a more classic look. I’ve read several tutorials on how to get that wonderful white water scale look and to be quite frank many of them seem completely over-complicated without achieving much more than a simple white wash technique will provide. I’m not trying to belittle the creative ideas of others, but I do want to share with you a quick and easy way to achieve an aged look with water and acrylic paint in literally just a couple of minutes.

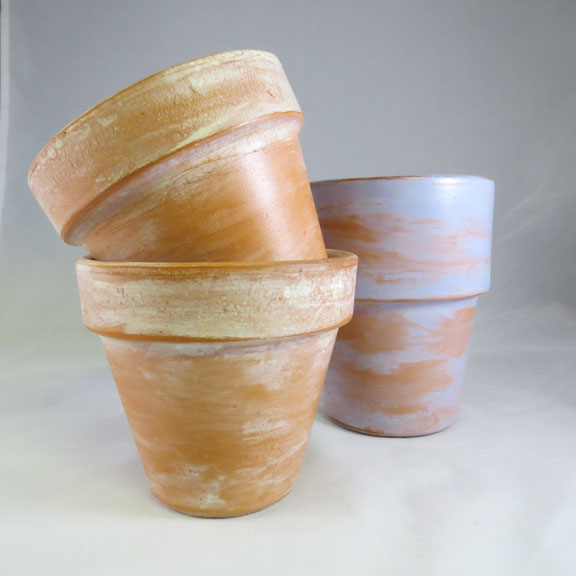
Pictured here are a few pots I painted this weekend, and it took just minutes to achieve the look. I used an off-white paint on two of the pots and a periwinkle paint on the other for a touch of whimsy. Keep reading (although it might take longer to read this post than it will to paint your pots) to see how I achieved the look.

pots


Materials Needed:

  • acrylic paint (use a white or off-white for the classic lime scale look)
  • water
  • small sponge brush
  • paper towel
  • sand paper (optional)

Directions:

  1. Put a few dollops of paint in a mixing container — I used a small solo cup. Add about a 1/4 cup of water to the paint and stir together well. It should be the consistency of water, but if you feel that you don’t have enough color, add a bit more paint.
  2. Starting at the rim of the pot, paint on the paint/water mixture. Work quickly, covering the rim first and then move onto the pot base.
  3. As soon as you coat the entire pot, use a paper towel to wipe off much of the paint beginning with the base and moving up to the rim. The rim should naturally have a bit more color than the base, so working in this direction aids with achieving that look.
  4. If you can’t get off enough paint, lightly wet your paper towel and continue wiping.
  5. After your pot is dry, If you still want to take off a bit of extra paint, lightly sand in spots with a piece of fine sandpaper.

For a bit of extra protection, I sprayed my pots with a matte spray sealer. While it gives the finished look more staying power, it does detract from the naturally aged look you’ve just achieved. You just might want to think about how and where you plan to use your pots before you spray.

Page 4 of 5
1 2 3 4 5