Tag: In the Kitchen

Start Your Day With a Sausage Cheese Croissant

Start Your Day With a Sausage Cheese Croissant

sausage cheese croissants

Saturday mornings are for family breakfast in our home. We like to sit down together and start our day with something yummy in our tummies. Of course, some weekend mornings there just isn’t a lot of time to make a huge meal (i.e. quilting morns with the church ladies), so something in a hurry fits the bill. This sausage cheese croissant recipe is one of my best go-to breakfast items and also one of my husband’s favorites. Mind you, these croissants are in no way low-cal and probably not too healthy, but if you add some fruit on the side you actually hit the four major food groups. . . yes, it’s a stretch, but these babies are worth it!

Sausage Cheese Croissants
Yields 8
A quick morning recipe.
Write a review
Print
Prep Time
15 min
Cook Time
15 min
Total Time
30 min
Prep Time
15 min
Cook Time
15 min
Total Time
30 min
Ingredients
  1. 1 can of croissants
  2. 1 cup shredded cheddar cheese
  3. 1/2 lb crumbled breakfast sausage, cooked
Instructions
  1. Preheat oven to temperature on croissant packaging
  2. Flatten out croissants individually
  3. Top croissants with cheese and sausage. Pat toppings into the croissant so that it sticks better as you roll it back up.
  4. Roll up croissants individually from wide end to the point.
  5. Place each rolled croissant on a cookie sheet and bake according to time on croissant packaging.
  6. Dip in mustard, dressing or other topping of choice.
Notes
  1. Most breakfast sausage comes in 1 pound packages; so if you cook a whole roll, you can freeze the other half for really quick preparation at a later date.
https://www.smalltalkmama.com/
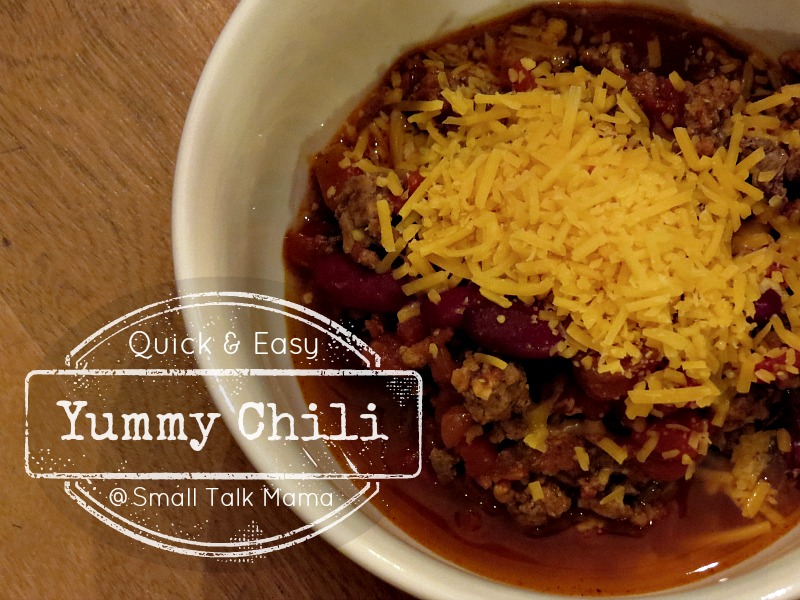
Super Yummy Quick and Easy Chili

Super Yummy Quick and Easy Chili

chiliWe haven’t seen the sun much during the last week and cooler temps have finally come along, so in my kitchen that means chili is on the menu. I love to make a large batch of chili that will feed the family several times over because it’s easy, makes great leftovers and is super yummy. . . especially when you add a few Fritos at the bottom and grated cheese on the top.

Now when I make my chili there are a few things you must know. First, I don’t use a recipe and it never tastes quite the same way twice. I throw in a bit of this and a dash of that and measuring spoons are usually not part of the process. Second, if my husband was lucky (or eh, “skilled”) enough to have put a deer in the freezer that particular year, I usually make chili with ground venison. It’s a great lean, natural and healthy alternative to beef and it makes fabulous chili. Lastly, we like a bit of kick with our chili, but having a five-year-old in the house mandates a more mild recipe and I’m okay with that. You can always add some chopped jalapenos or more Tabasco to your recipe if you need more spice.

So if you’re not completely afraid of trying this recipe now that I’ve divulged all my little chili-cooking quirks, here goes the basic, delicious way to make chili every time. Although I don’t normally measure out quantities, I did make a tasty batch using the following recipe just so I could share it with my readers. . . and maybe my son and his family one day.

Chili
Serves 6
Quick and easy go-to recipe for super yummy chili every time.
Write a review
Print
Prep Time
30 min
Cook Time
2 hr
Total Time
2 hr 30 min
Prep Time
30 min
Cook Time
2 hr
Total Time
2 hr 30 min
Ingredients
  1. 1 lb browned ground beef (or venison)
  2. 1/4 cup chopped onion
  3. 1/4 tsp garlic salt
  4. 1/8 tsp ground black pepper
  5. 1 tbsp chili powder
  6. 1 can (16 oz) dark red kidney beans - drained and rinsed
  7. 1 can (8 oz) tomato sauce
  8. 1 can (14.5 oz) petite diced tomatoes
  9. 1 can Ro-Tel Chili Fixins
  10. 1 dash of Tabasco sauce
Instructions
  1. Add all the ingredients to a large pot and if the chili is not "soupy" enough, add a bit of water.
  2. Bring chili to a boil, stirring periodically.
  3. Reduce heat and let simmer for 1 - 2 hours with lid on pot.
  4. Serve hot.
Notes
  1. You can add some chopped jalapenos or more Tabasco to give your chili some kick.
https://www.smalltalkmama.com/
Awesome Gluten-Free Peanut Butter Cookies

Awesome Gluten-Free Peanut Butter Cookies

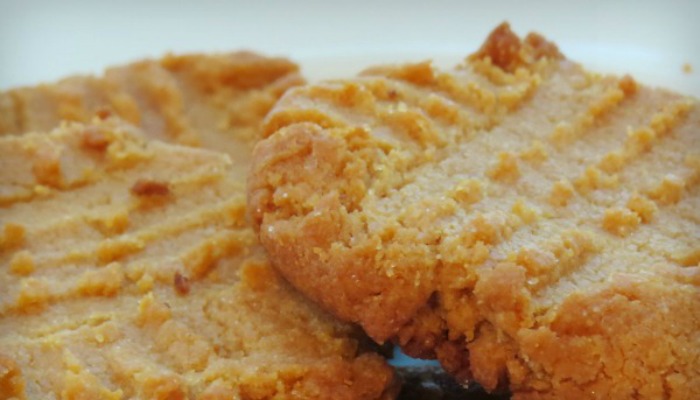
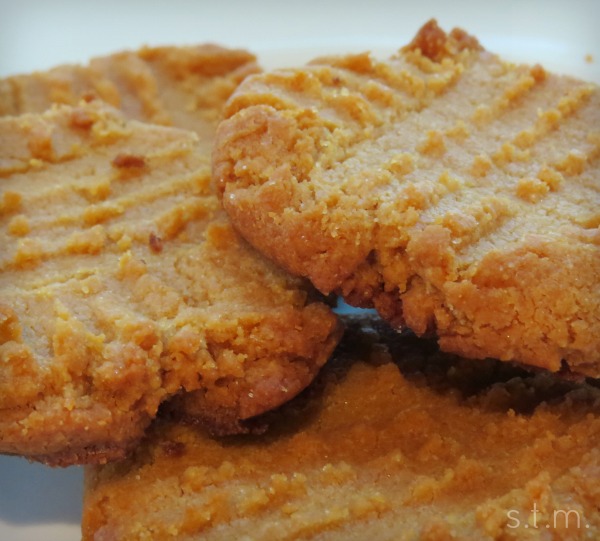
Today’s recipe is for all those folks adhering to a gluten-free diet these days; but I promise all of you who aren’t, will enjoy these cookies just as much as the ones your mama used to make. Yup, I know that’s saying a lot, but I couldn’t believe my tastebuds when I took a bite out of these yummy gluten-free peanut butter cookies.

gluten-free peanut butter cookies

So this one is for my good friend, M., because she never makes a fuss of her gluten-free diet and she thought these cookies were pretty delicious (or at least that’s what she said).

Gluten-Free Peanut Butter Cookies
Yields 36
A delicious gluten-free alternative for peanut butter cookie lovers.
Write a review
Print
Prep Time
30 min
Cook Time
10 min
Total Time
1 hr 15 min
Prep Time
30 min
Cook Time
10 min
Total Time
1 hr 15 min
Ingredients
  1. 2 cups creamy peanut butter
  2. 1 1/2 cups granulated sugar
  3. 1/2 cup packed brown sugar
  4. 2 large eggs
  5. 2 tsp baking soda
  6. 2 tsp vanilla extract
  7. 1/4 tsp salt
Instructions
  1. Heat oven to 350 F.
  2. Mix the peanut butter and sugars on med-high for 2 to 3 minutes.
  3. Reduce speed and mix in the eggs, baking soda, vanilla and salt.
  4. Roll or scoop spoonfuls of dough into balls and place on a parchment-lined baking sheet.
  5. Using a fork, press the dough to about a half-inch thickness making a crisscross pattern on top of each cookie.
  6. Bake cookies for 5 to 6 minutes, rotate the baking sheet and finish cooking for 5 to 6 minutes.
  7. Let cookies cool completely and enjoy!
Notes
  1. You may never make classic peanut butter cookies again after you taste this yummy gluten-free option.
Adapted from Real Simple
https://www.smalltalkmama.com/
Page 7 of 12
1 5 6 7 8 9 12