Tag: Independence Day

One Last Patriotic Project — The Jean Banner

One Last Patriotic Project — The Jean Banner

Happy Independence Day, y’all! I hope you get to celebrate our stars and stripes in good old down-home fashion with food, fireworks, friends and family. We are headed out to our friends’ lake house later today, but only after the local parade, carnival and naps. . . oh, and of course we’ll stop for fireworks along the way.

patriotic project

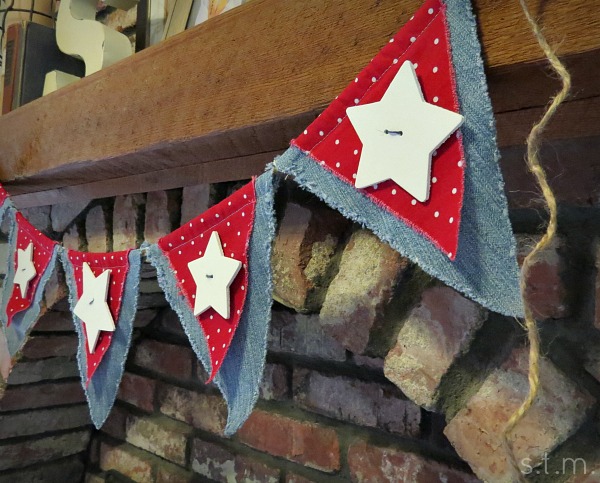
This is definitely one of my favorite holidays of the year and I love decorating our home with loads of red, white and blue. I just had to share one last patriotic project that I finished this weekend, using a pair of old jeans, cheap material, a bit of jute and a few wooden stars.  I knew I would eventually do something with that stash of jeans in the corner of my craft room.

I simply cut pieces of jeans and fabric using my triangle stencil and sewed them together along the top to create a pocket for the strand of jute. In the meantime, I used my large Crop-a-Dile to poke two holes in each star to mimic buttons and painted the stars white. Before I moved on, I popped the sewn banners in the washing machine and dryer to fray the edges just a bit. After a quick ironing, I sewed the star “buttons” onto each of the banners, ran the jute through the tops and strung it up to my mantel.

Enjoy your Fourth and let a veteran or service person know he/she is appreciated!

Saturday Sparks — Patriotic Punch in a Hurry

Saturday Sparks — Patriotic Punch in a Hurry

patrioticpunch

I returned from our family Florida vacation this week and realized Independence Day is just around the corner, but other than an American flag hanging out front you wouldn’t think I gave one iota about this patriotic holiday. What? Nothing could be farther from the truth, because this is one of my most favorite celebrations!

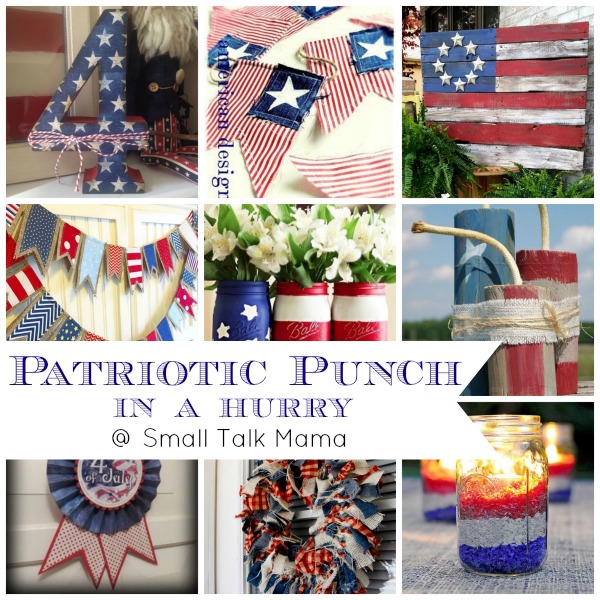
Maybe it’s because it comes in the middle of the summer all by itself, or maybe it’s the fireworks, fun and family time that accompany this holiday, or maybe it’s that I swell up just a bit more with national pride; but whatever the reason, I gotta get my house decked out with some proper décor, and in a hurry! So of course I immediately went to Pinterest to find some easy, quick and cute DIY décor for my little home and here is just some of what I found. . .

aa46f2050e8c48bd4cb174ba940eb925b6eebb3abd203ba3eea648fc886d616ae6b5b0d1b558ebb872dc732410cafbbdaea5a371a130faca5ca26c6d315d1a846ecfc49ff54a7175968f2ddc51e20a91c16c4654a6e9b473f13d3645653eb29289f34543f2f195a691a5b608d2cb3124520ffb4ea5ab3b3b4def4b37c3d4d2e301aa556fac84f23b41a492ce250dfe3cc2d5a8dbe414c250492df036cab72ca78d633e42ac90ba64acd192a81901135620408cb4c7fb1213d74fbb0934439c03

Note: The Saturday Sparks series is a compilation of inspiring ideas from bloggers across Pinterest.
Most of these ideas and photos are not my own, but please click on the pictures to visit the authors and creative minds behind the projects featured here.


Welcoming Rosette for Independence Day

Welcoming Rosette for Independence Day


Independence Day Rosette

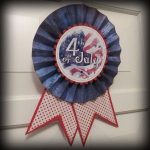
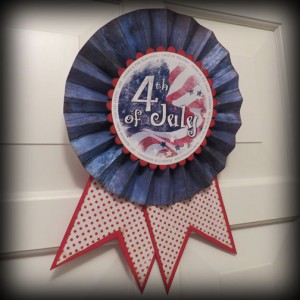
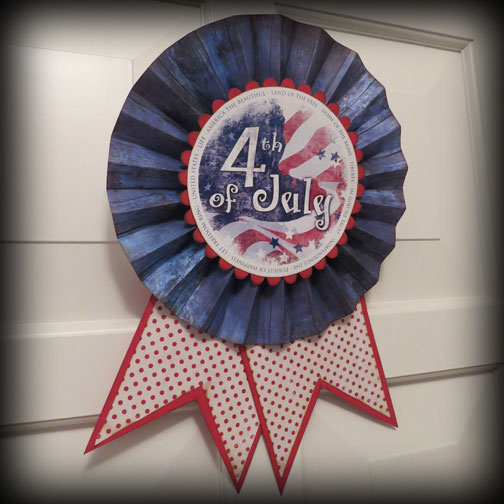
Today I’m showing you the newest addition to my patriotic home decor, complete with easy instructions and printable.  This door-sized rosette was easy to make and you should be able to whip up your own in about half an hour or so — just in time for Independence Day.

Materials:

  • Three pieces of red cardstock – 8 1/2 x 11″
  • Two pieces of decorative blue paper – 12 x 12″
  • One piece of coordinating decorative paper – 12 x 12″
  • Paper adhesive
  • Small piece of twine (for hanging)
  • Craft Glue
  • July4Rosette printable (pdf)
  • Dark brown ink pad

july4rose2july4rose3

Instructions:

  1. First, let’s make the large blue rosette portion of the project by cutting the two pieces of blue paper in half so that we end up with four pieces of 12 x 6″ strips.
  2. Ink the outside edge of each piece with the dark brown ink pad. Score each of these pieces at every inch and according fold.
  3. Using adhesive, connect all these pieces together. Keeping the paper flat, fan out the pieces in a circle and adhere the two ends together to create the rosette. To keep this crazy thing flat while you work, you can place a light-weight book or magazine on top of the newly formed rosette.
  4. Next, we’ll make the center of the rosette by cutting one piece of red cardstock into a circle approximately 8″ in diameter. I used my Cricut to cut the scalloped edge, but you can use whatever you have — cutting machine,  decorative scissors or circle cutter.
  5. Ink the edges of the circle and glue to the center of the rosette using paper adhesive or glue.
  6. Print out the July4Rosette rosette center and cut into a circle, about an eight of an inch away from the outside words. Ink the edge all the way around and adhere to the red circle.
  7. To create the tails to the rosette, cut the two remaining sheets of read cardstock down to 6 x 11″ and then cut a triangle out of each piece to form the banner shape. Ink the edges.
  8. Cut the coordinating sheet of decorative paper to create two pieces that are a half inch smaller than the cardstock tails and cut a coordinating triangle in each piece. Ink all the edges and adhere to the cardstock tails.
  9. Adhere the completed tails to the back of the rosette at whatever angle you like.
  10. After everything is assembled, cut a short piece of twine and tie a loop for hanging. Flip over the rosette, add a dab of glue and adhere the twine loop.
  11. When the glue dries, hang your welcoming rosette for all your guests to see.


Page 2 of 2
1 2