Tag: inside and out

Industrial Whimsy Equals Spring Rustic Wreath

Industrial Whimsy Equals Spring Rustic Wreath

spoolwreath1

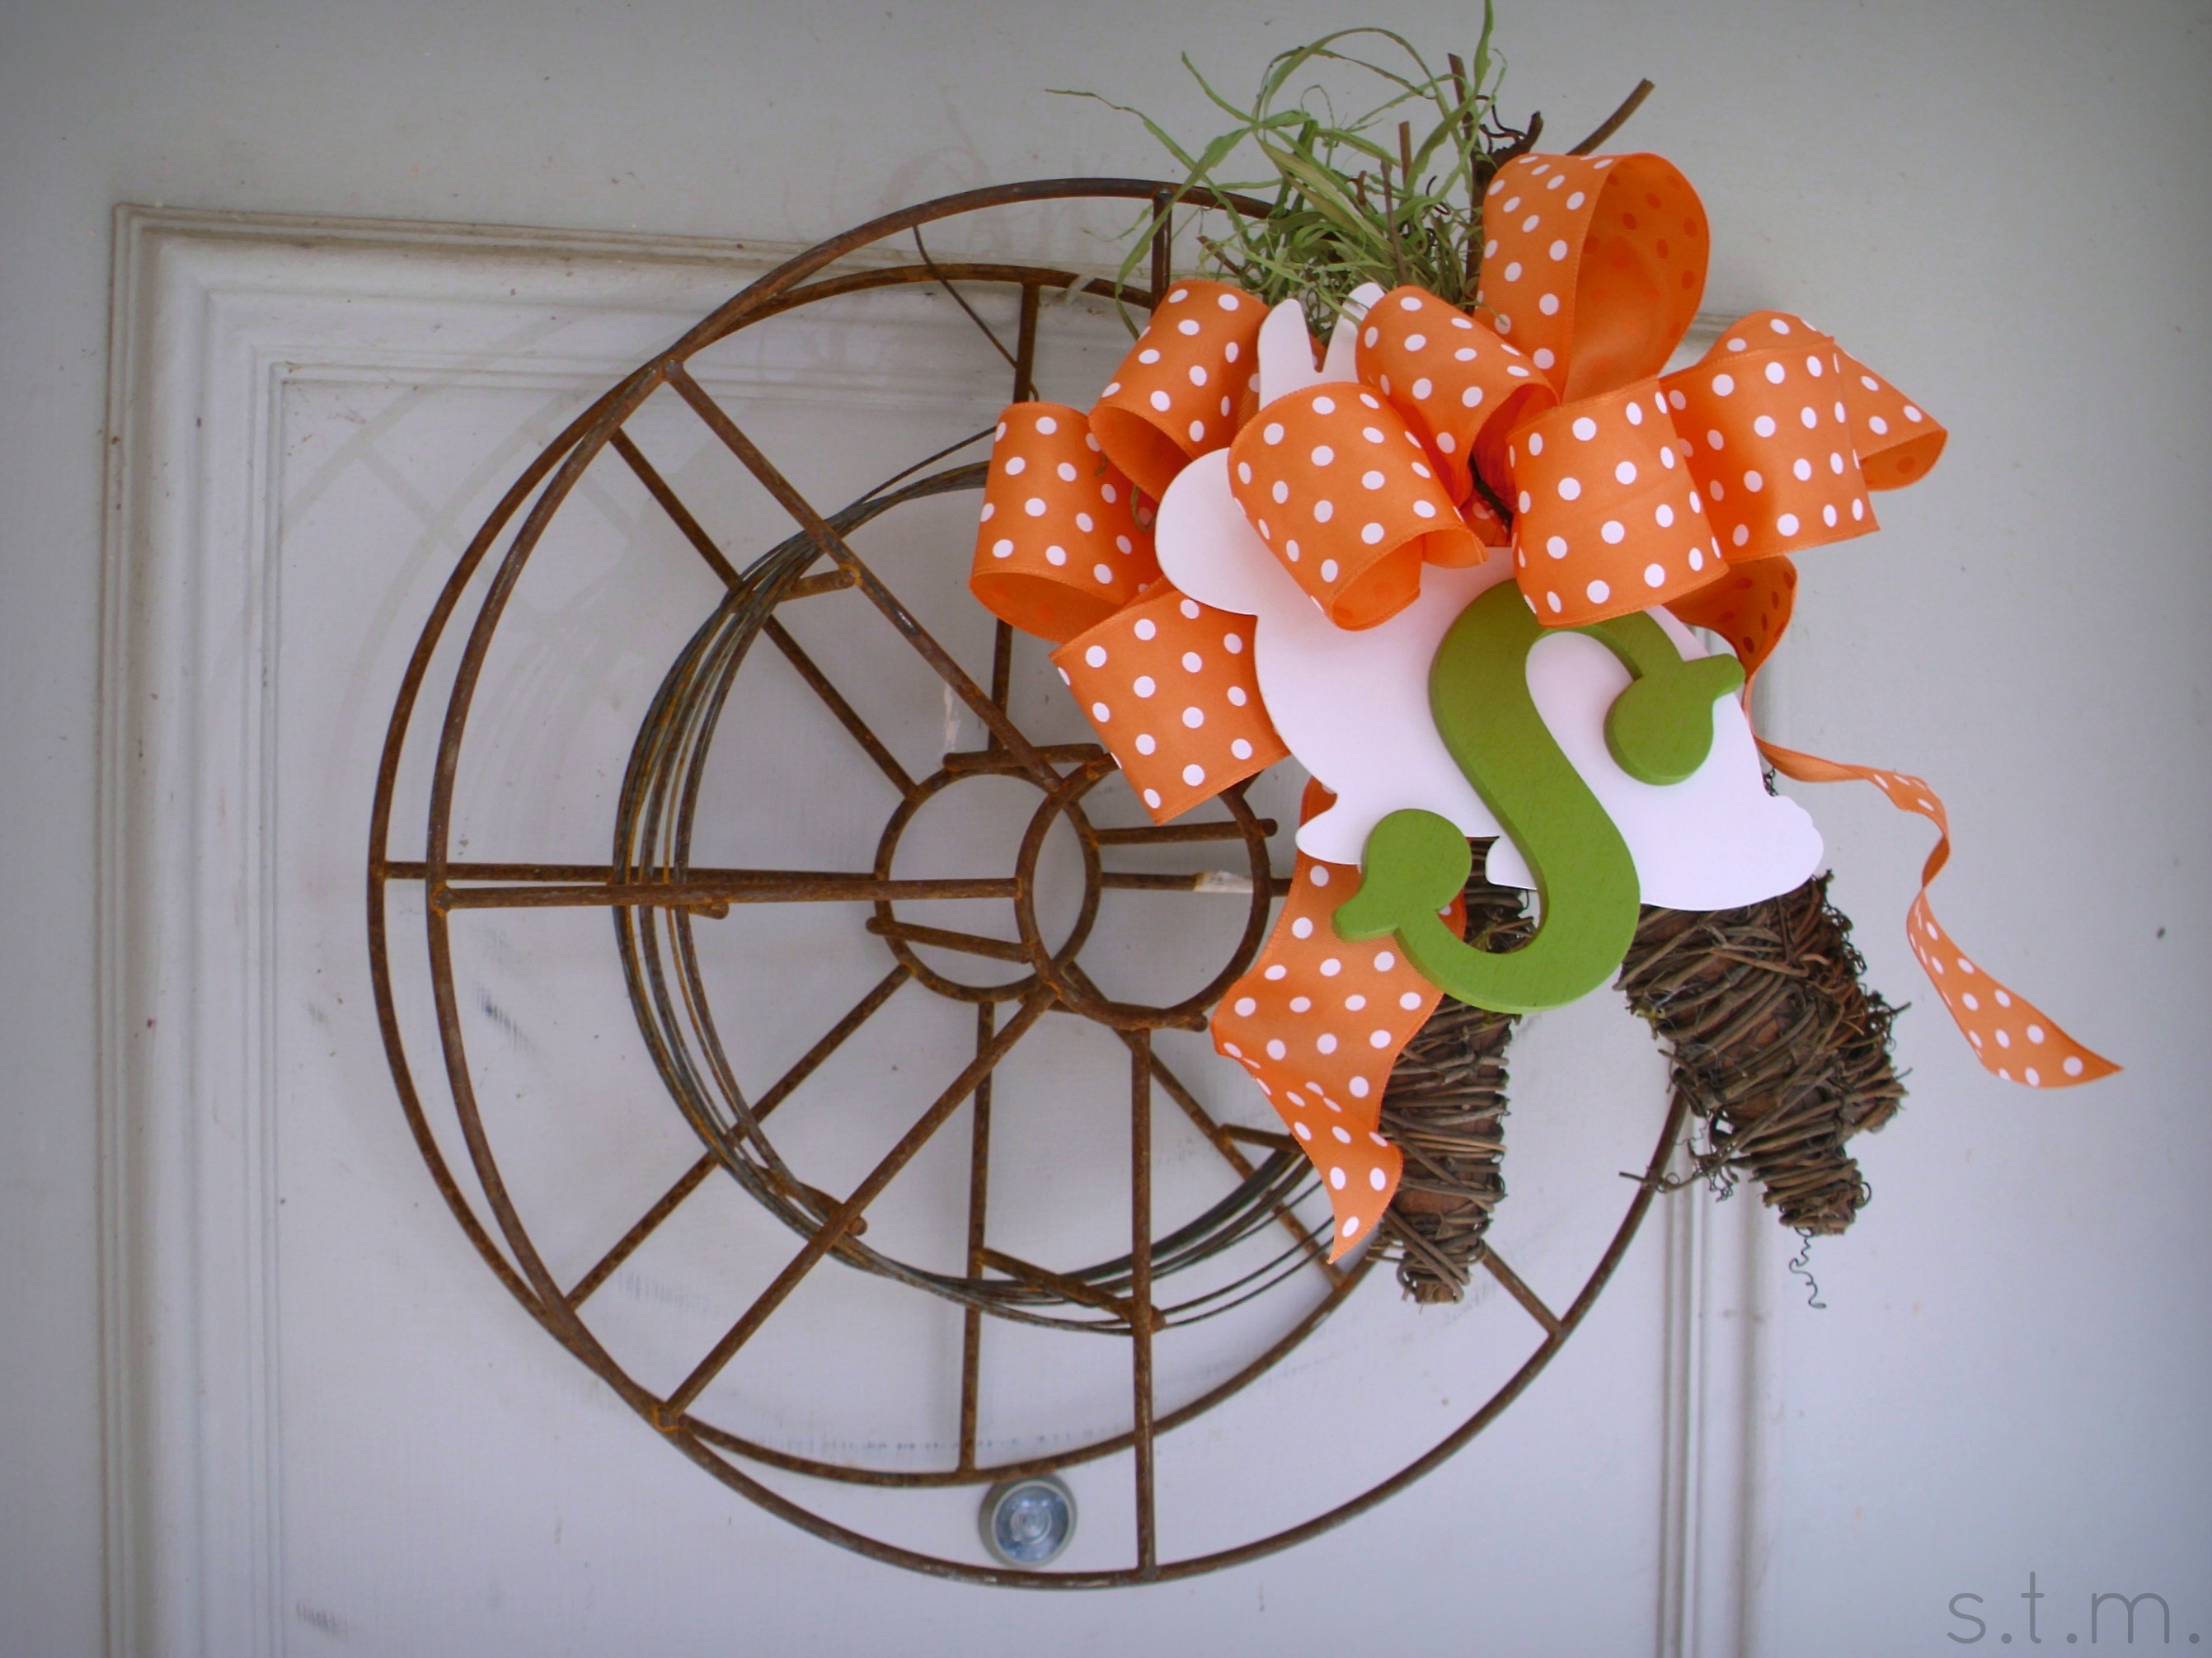
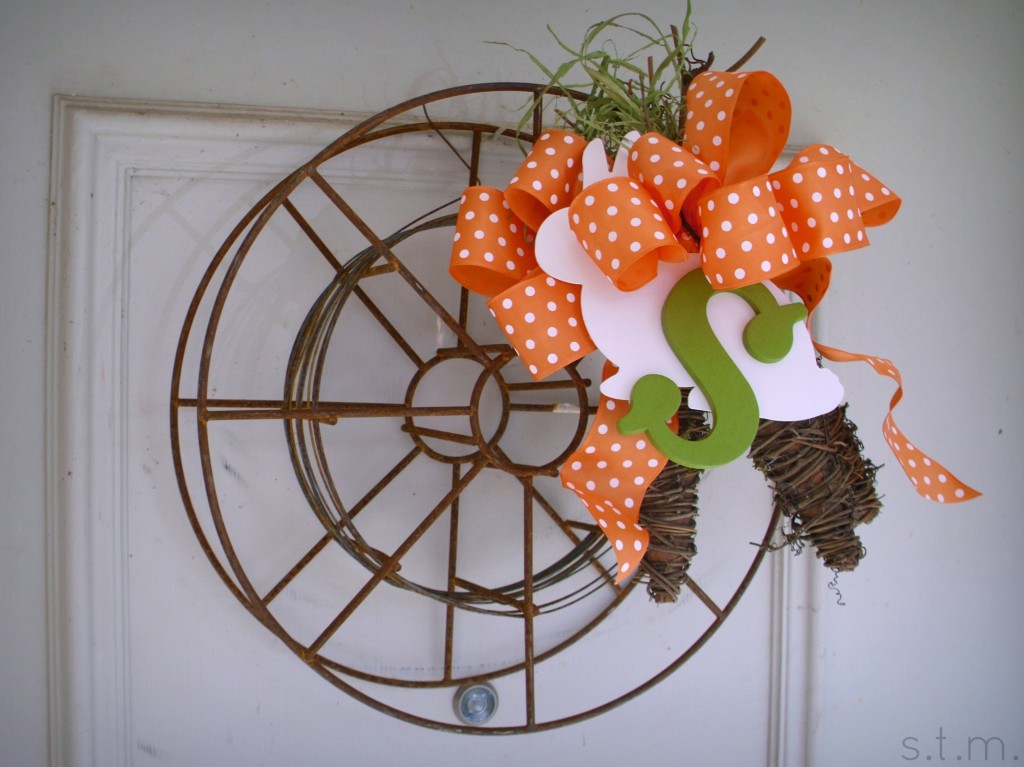
DIYspringArtWelcome to my little stop on the DIY My Spring! blog hop sponsored by Hometalk. If you visited yesterday, you know I promised to reveal my rustic wreath made from an old $8.00 metal spool I found antiquing with my sister this week in Oklahoma. . . and here it is!

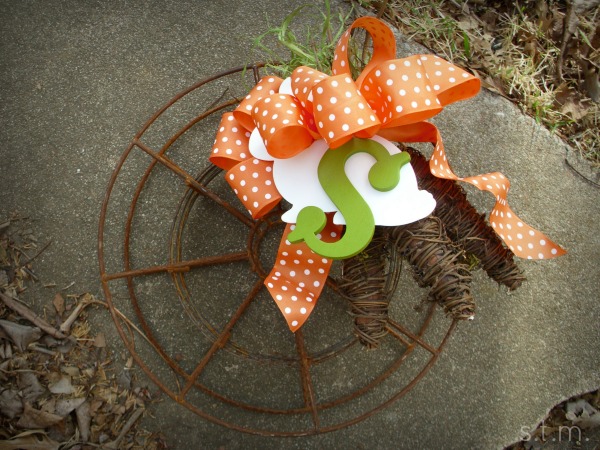
When I saw this old rusty thing in the antique store, I just knew it would make a cute wreath, and with a little help from Mom (she’s the most awesome bow maker I know) and a few adders from Michaels (all on sale), we came up with this super cute Easter wreath that brings a bit of whimsy to this industrial find.

rustic wreath spool

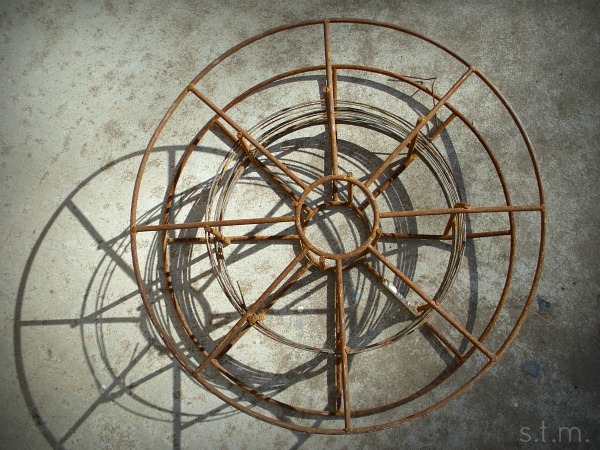
Here’s what the spool looked like when I found it at The Cranberry Merchant in downtown Claremore. This rusty old thing once housed a medium-gauge wire, known only because there was still a bit left behind. I decided to leave the wire on the spool for authenticity’s sake.

By the way, folks, if you’re looking for a good antiquing destination in Northeast Oklahoma, you should probably give this small town a try. Wills Rogers Blvd is lined with antiques shops, small boutiques, coffee shops and cafes; there are also other shops and good eateries sprinkled throughout town, like The Rusted Rabbit and The Pink House tea room.

rustic wreath

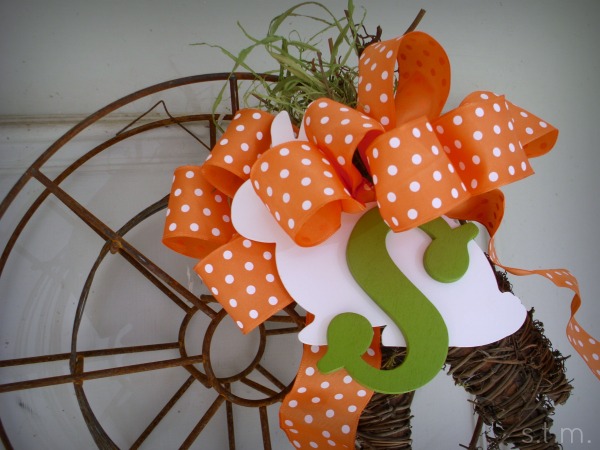
A not-so-quick trip to Michael’s supplied all the other goodies for this wreath, including some grapevine wrapped carrots, cute orange ribbon, a metal painted bunny and a magnetic wooden initial letter. Now let me tell you, picking out all my goodies for this project was by far the most time-consuming and difficult task of this whole thing. Once I got all the parts and pieces home, Mom and I put everything together with a bit of floral wire and a dab of hot glue, and that was all it took.

spoolwreath2b

I picked the orange ribbon because the carrots weren’t orange and that just didn’t seem right. The bow also adds some much-needed color to the project and who doesn’t just love polka dots. The  magnetic initial letter was a bonus since it stuck right to the metal rabbit I found. Of course, it’s our family initial, but I’m thinking some folks might think it stands for “spring,” and I’m okay with that. Although you can’t see much of the carrots, I really like those rustic veggies and think the grapevine kind of mimics the wire on the spool. I gotta say I’m pretty in love with the way this little rustic wreath turned out, but I’m also thinking about how to change it up to suit the next holiday’s décor.

If you are looking for more spring inspiration, you’ll definitely want to visit other bloggers at the DIY My Spring blog hop listed below and watch for the hashtag #DIYMySpring.


New Knobs Know-How: Little Touches Have Big Impact

New Knobs Know-How: Little Touches Have Big Impact

Yes, I’m writing a post about knobs. While I know my husband is shaking his head about now, I hope the rest of you will stay with me and eventually nod your head or throw in an “awesome” or “a-ha” by the time we reach the end.

Let me start by saying that I love the little touches. The little touches that say, “I’m not builder’s grade,” “I may be small but I say a lot,” and “I make all the difference.” I love to change out the smaller items like knobs, pulls, faucets and curtain rods and put my own stamp on a space in a fairly inexpensive way. These accent items can make such a difference in the feel of a room, but their cost is minimal and their impact is grand.

new knobs

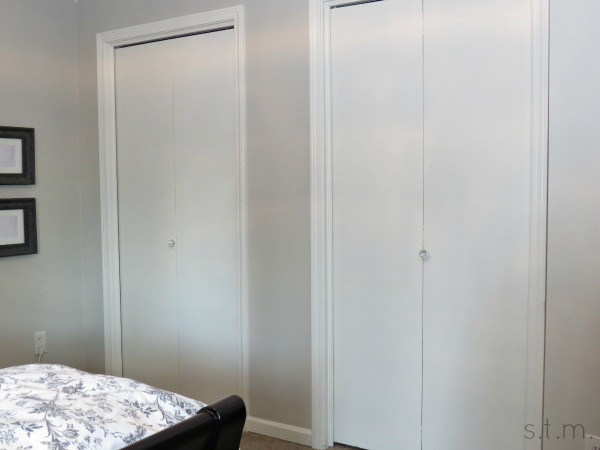
So here’s my closet’s new knobs. Never mind that I have very (and I mean very) basic closet doors, which may eventually be changed out with something more interesting one day, but for now they are here to stay and they are donning their new stylish crystal-ish knobs. So there’s nothing too exciting about this picture from this distance but I’m digging the change. Before, I had very basic oil-rubbed bronze knobs that lacked any sort of character and stood out like a sore thumb on the creamy white backdrop of closet doors.

Old knobs

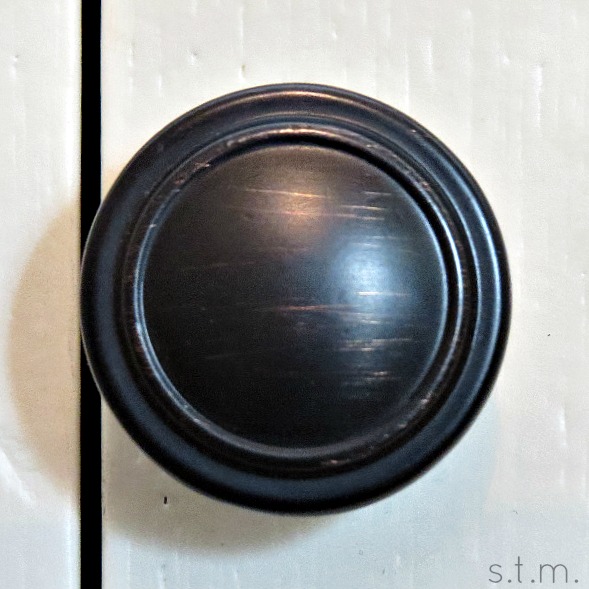
This is a photo of the old closet door knobs — very basic and very boring. In fact, the contrast between the closet door color and the knob only emphasized the fact that they were small and had zero character.

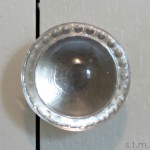
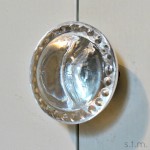
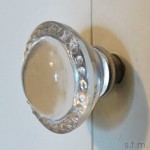
newknob4newknob5newknob6

click on photos to view larger images

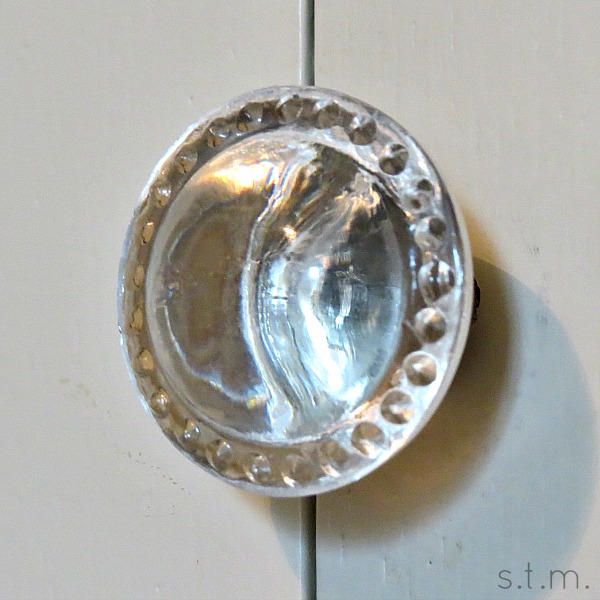
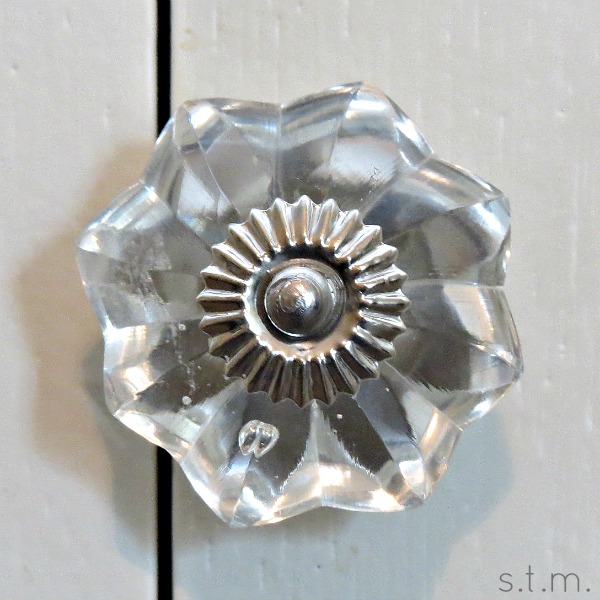
And here are the new knobs up close. I was going for subtle sophistication with this choice and think the look was achieved. I love the way the light shines through and bounces off the round knobs without garnering too much attention. These new knobs reflect the look of the round crystals hanging from the bedroom chandelier, and I also like the rubbed silver backs that mimic the muted silver mirror frame hanging on the adjacent wall. These little guys aren’t big, but I think they have a lot to say.

If you’re looking for some new knobs with a bit of character, you might try Hobby Lobby. They have a great selection of fun, whimsical and classy knobs that might just fit the bill, and they go on sale about every other week. While I ultimately went with the choice above, I did try a couple of other selections before making my decision.

newknob2

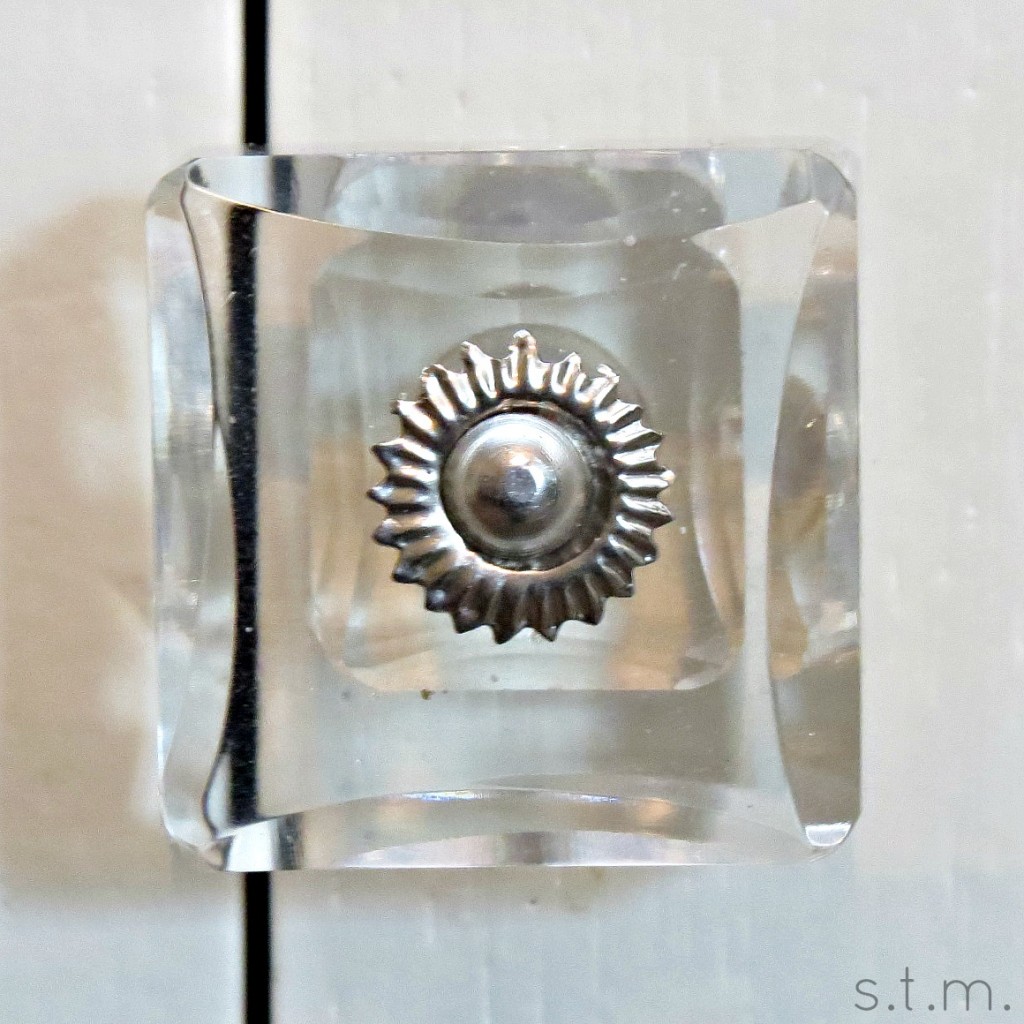
I love these square crystal knobs. They are very classy and have a nice brushed silver center, but unfortunately they just didn’t work with my doors. As you can see, they overlapped the seam between the two door panels  so much that you could actually see the crack through the knob. Plus, trying to keep them perfectly square and in line with my doors was going to be a feat. While I opted out of this particular knob for my closet doors, I do have another life in mind for these little beauties.

newknob3

This was another fun crystal knob choice. I love the imperfections and the roundish shape, but ultimately the embellishment was way too silver and the shape was just not sophisticated enough to jive with my chandelier. I saved my receipt and these little cuties will go back to the store.

So if you’re itchin’ for a little pick-me-up in your home on a minimal budget, try changing out your knobs. These little touches can have a big impact.

My Shock and Shame Gallery Wall

My Shock and Shame Gallery Wall

It’s so funny these days when I have a friend over that hasn’t been to my house in months. Without fail, and usually when they are putting on their coats and turning around to leave, each of my guests will stop, look, and exclaim, “You put pictures in your frames!”

This sight to behold of which they speak is the gallery wall I finished in my hallway/living room. Apparently my frames hung empty for far too long, if it seems to be such an awe-inspiring revelation to so many of my friends. I did speak about it in last year’s resolution post, so I guess it really did need to get done and I guess it was a big old box I got to check off the list. Yay me!

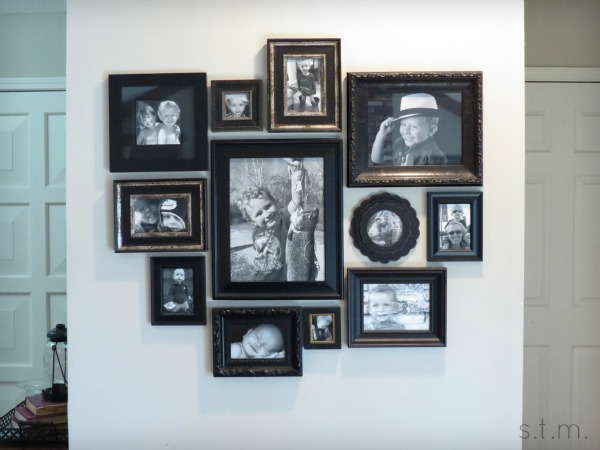
So today I wanted to show you my finished gallery wall and talk a little bit about how I accomplished it. I really like the asymmetrical look of it and the variety of textures, depths and shapes of my frames. I love the one little circle frame in the grouping, but it drives my sister-in-law crazy. To each her own, I guess.

gallery wall

gallery wall

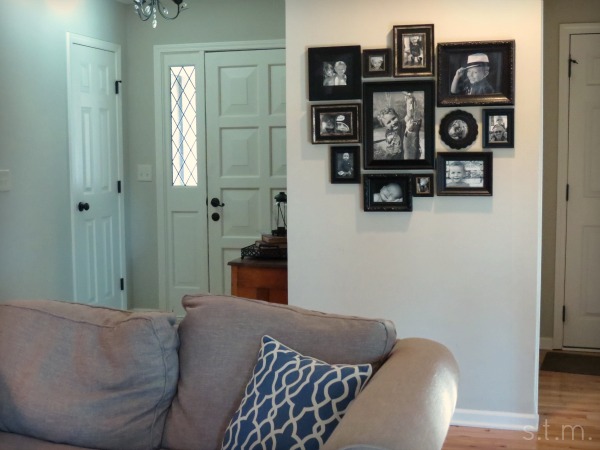
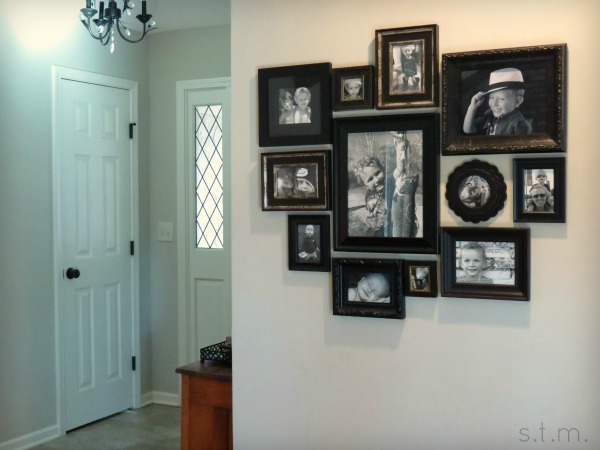
As you can see in the picture, my gallery is on a small wall between two entry points at the back of the living room. It’s the main thoroughfare of our home and not wide enough for furniture of any sort, so I wanted to make an impact with this small collection of photos.

Gallery Wall

As far as placement goes, I used a couple of large pieces of butcher paper taped together and arranged my frames on it, in the floor. Once I found a composition I liked on the floor, I snapped a photo so that I could remember where everything went and traced the corners of each frame with a pencil. I made sure to vary the size, depth and texture of the frames for an “organized chaotic” look.

After everything was the way I wanted it on the floor. I centered, leveled and hung the butcher paper on the wall with painters tape and started hammering nails. I started with the large dominant frame in the middle and worked my way out in all directions.

Months later (and only after my preschooler started asking if we were related to the people in those frames), I finally picked and printed photos. I used Mpix to print the photos, because they do beautiful true black and whites. I ordered a few extra pictures, to see which ones to use in each frame, and I am very happy with the outcome.

Here’s my one tip about filling those frames — photos are fairly inexpensive, so order your pictures and fill your frames quickly (so that you don’t have to experience the same shock and shame I have endured) and change out photos that don’t quite suit you at a later date.

So here’s to your own gallery wall. May it be easy, swift and rewarding. . . and heaped with smiling faces you know.

Page 9 of 14
1 7 8 9 10 11 14