Tag: wreath

Touch of Tartan DIY Wreath

Touch of Tartan DIY Wreath

RagWreath2

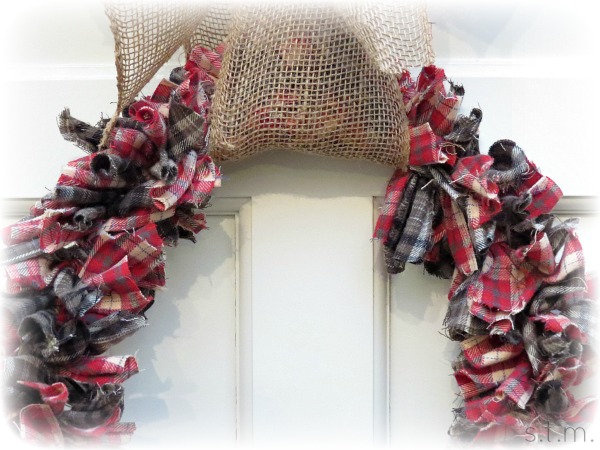
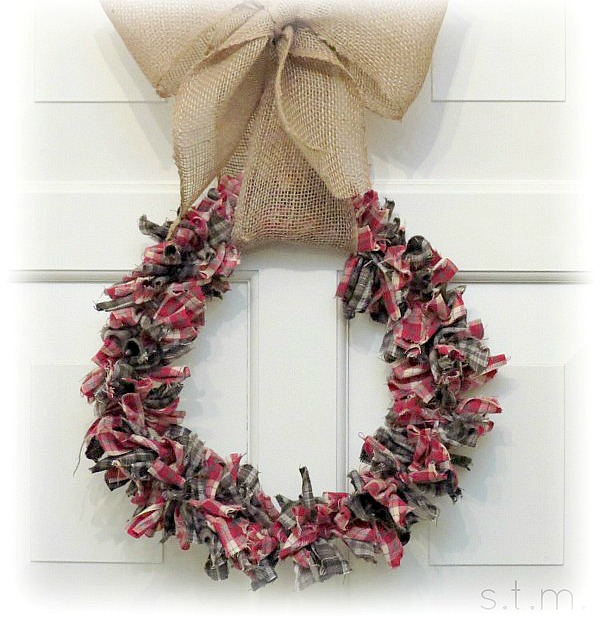
In the spirit of all that is plaid this jolly time of year, I finally finished the newest addition to my Christmas décor, a rag wreath that adds a tiny touch of tartan to the entry of my home. I made this cute little thing using two coordinating types of plaid fabric, some heavy gauge wire and a bit of burlap ribbon. I used about 200 1.5×6 inch ripped strips of cloth for this project and created it in exactly the same way as I did my St. Patrick’s wreath this spring. You can read all the DIY details by visiting that earlier post.

So here’s to last-minute decoration ideas; and by the way, this one can be completed in about two hours. May your boughs we decked and your halls be jolly, and may you enjoy this Christmas time of year.
RagWreath1D

Check out some other great wreath ideas at BloomNation’s #AlwaysBeBlooming project.

bloomnation_wreath

Just in Time for St. Patty’s Day Wreath

Just in Time for St. Patty’s Day Wreath

Spring Break is winding down here at the Quarter-Acre Wood and this week has been filled with lots of goings-on that I can’t wait to share with all of you. I’m way behind on my latest events and accomplishments, because my sister, great niece and one of my niece’s friends arrived Sunday to do Spring Break Kansas City style and we have been going ever since.

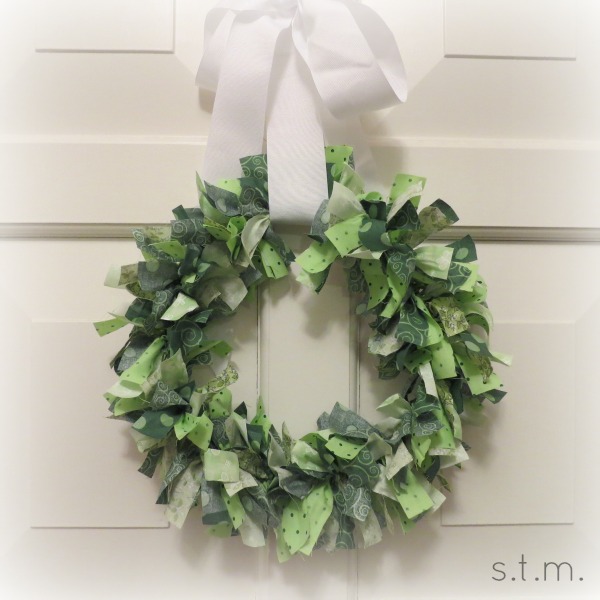
So first, let me back up to St. Patrick’s Day, yes I know it came and went. . . three days ago, but I so want to show you my new little craft project perfect for the greenest of days. Okay, so I bought the supplies a month ago but I only put it all together the morning of the seventeenth (I told you I was a procrastinator). I was completely determined to make that wreath by St. Patty’s Day, even if it took me until midnight. I’m happy to say it went together quite quickly and we got to enjoy it for several hours. Oh, who am I kidding, it’s still hanging on my door. . . but it’s just so cute. 

St. Patty's Day wreath

Here’s what you’ll need to make your own St. Patty’s Day wreath :

  • 1/4 yard of 5 different green fabrics
  • heavy-gauge wire or coat hanger
  • rotary cutter and cutting mat or scissors (a rotary cutter will make this project a snap)
  • ribbon

This is how you put it all together:

  1. To create the round shape, I used wire that was less stiff than a coat hanger, but still had enough strength to hold it’s shape. I would love to tell you what gauge it happened to be, but that label has long since gone away. Just shape the wire and bend the ends together or, if you’re using a coat hanger, snip off the hanger part and then shape into a circle. I ended up with a circle diameter of 15″, but you can make it a bit larger or smaller as needed.
  2. Using my rotary cutter, I cut 1″ x 6″ strips from each of the five fabrics. You can use scissors or the snip and rip method to cut your strips, but a rotary cutter makes this task so much faster, especially if you fold your fabric a couple of times.
  3. I cut 32 strips from each of the fabrics and used just about everyone one of them on my 15″ diameter wreath. So that was approximately 160 small little pieces of fabric.
  4. To adhere the fabric, simply tie them in a knot all the way around the wreath. I chose a pattern in which to tie them and stuck to it all the way around. Tie a few pieces and then push them together tightly around the wire, then repeat. By continually pushing the tied pieces together, you will get a fuller, fluffier finished product.
  5. After all the fabric strips are tied to your wreath. Cut and tie a long piece of ribbon for the bow.
  6. Lastly pull all the fabric strips ends toward the front of the wreath and fluff them for a finished look.

My sister, the one in town, thought this was a really cute project and made plans to create an Easter or Spring wreath of her own. You really could do one for any holiday just by changing the fabric you choose.

Easter Egg Wreath is Easy and Inexpensive

Easter Egg Wreath is Easy and Inexpensive


Easter egg wreath

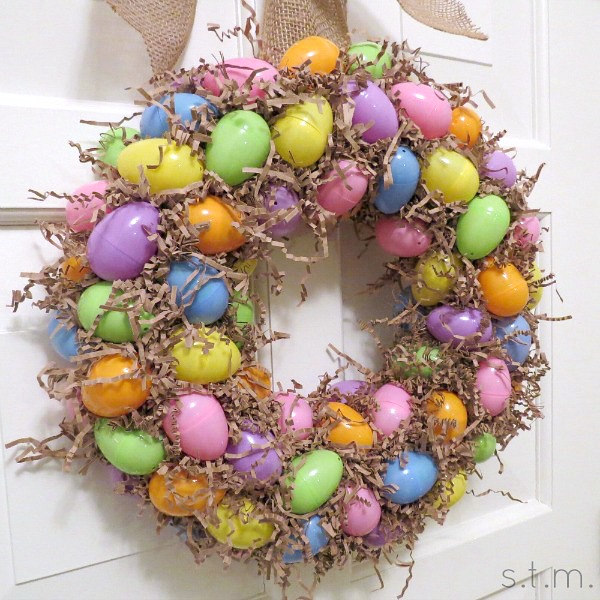
I know March is not quite finished and the temperature outside is a brisk 30 something degrees, but Easter will be upon us before we hardly blink. Sooo, as I try to get into the creative Spring of things I decided to whip up an Easter wreath this weekend. “Whip” may not be the most accurate word to use because it took about three hours to make this cute little thing, but it was easy and cheap enough to create.

The wreath cost me about $10.50 to make, minus the burlap ribbon and hot glue sticks I already had on hand – pretty affordable, I thought. The idea came from the Clover House blog, but I’ll give you a few pointers that will hopefully make your project a success without a few of the pitfalls I experienced.

Update:  I removed the plastic wrap from my wreath before starting the project, but my mom tried it using these directions without removing the plastic packaging. Her eggs seemed to stay on a bit better, but it could have been her hot glue, skill, etc. . .  just a thought.

Materials:

  •  12″ straw wreath
  •  plastic eggs (I used approx. 75 regular sized eggs)
  •  2 bags of paper basket filler
  •  ribbon for hanging wreath (I used approx. 3 feet of ribbon)
  •  glue gun and glue sticks
  •  flat head screwdriver

Directions:

  • Start by finding the center of your ribbon and hot glue it around the straw wreath, letting the ends lie loose.
  • Tip:  Even if your eggs seem to stay in place with hot glue, about the time you finish your lovely little project they will probably start popping off (been there, done that). Smooth plastic surfaces and hot glue don’t tend to mix for very long, but here’s a way to fix this problem ahead of time.  Open up each egg and put a glob of hot glue at the hinge point and close the egg quickly. The hot glue should ooze out the edge and give your new dollop of hot glue something on which to adhere.
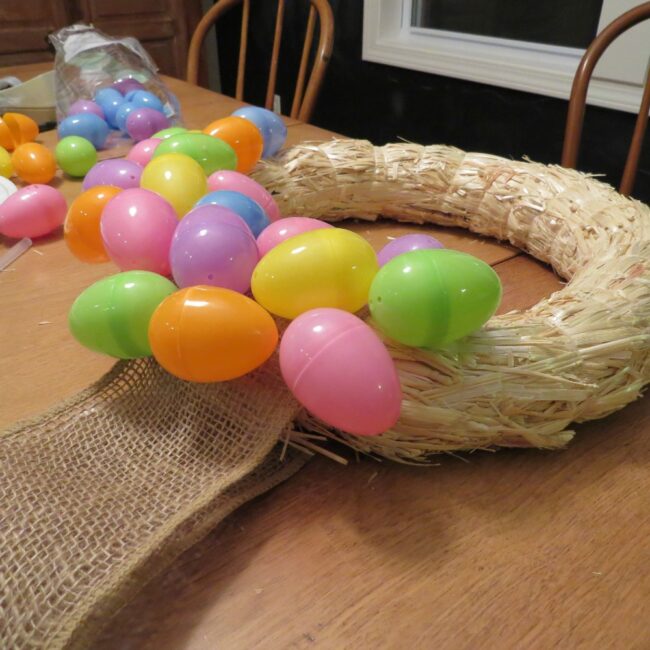
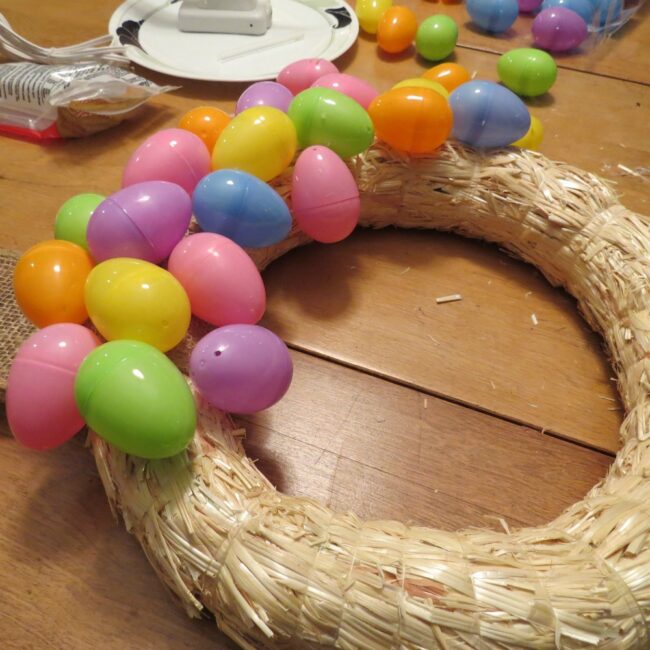
  • Start gluing eggs to your straw wreath using the hot glue. Mix up the orientation and angle of the eggs to get a less-uniform look. Place the eggs pretty close together, but they don’t have to quite touch. You will have larger spaces between the eggs in many spots and that’s okay because we will fill those with the basket filler. Make sure to glue eggs on the outside and inside of the wreath, but not on the back.
Easter egg wreath
Easter egg wreath
Easter egg wreath
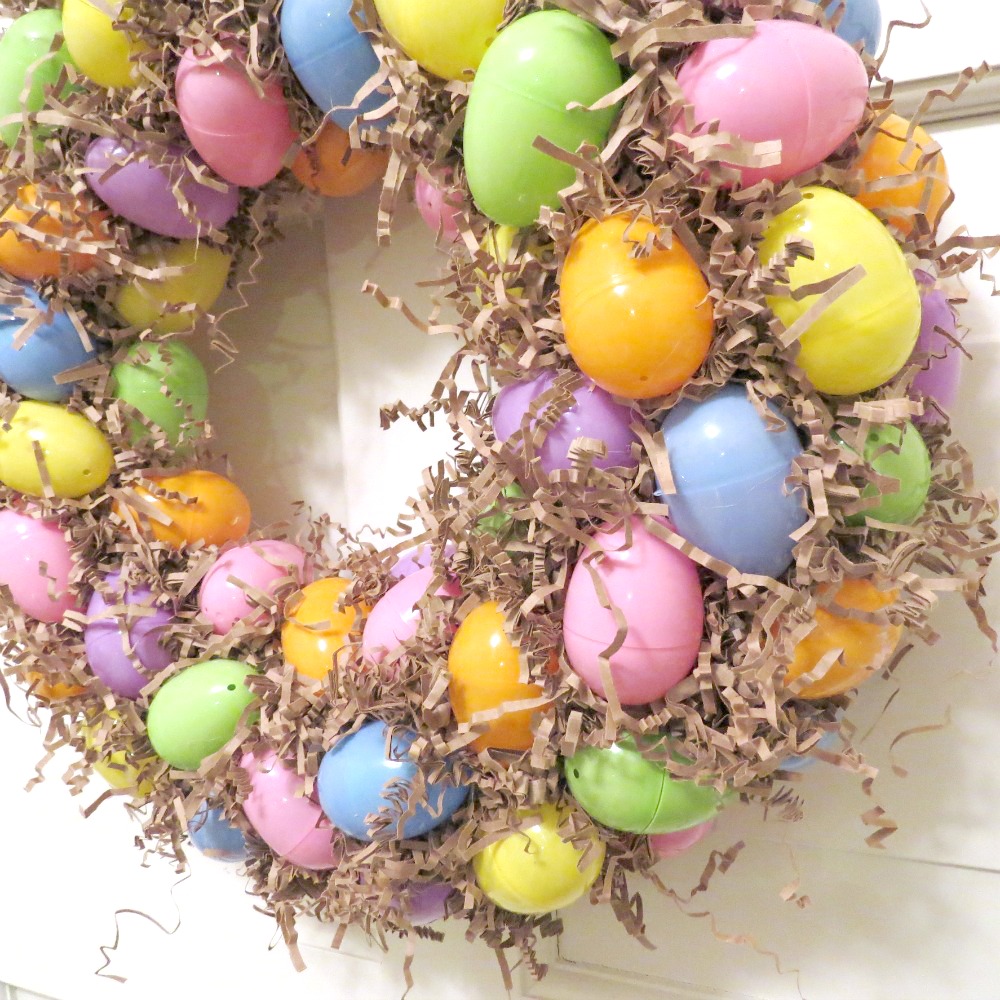
  • After all the eggs are glued in place take small wads of basket filler and start poking them in the gaps between each egg. Use the flat head to do this and stuff each area pretty full. You don’t need to glue the filler in place, because it should just stay where you put it as each spot fills and tightens.
  • Tie a bow at the top of your ribbon and hang your wreath in its designated spot. That’s it!

Easter egg wreath

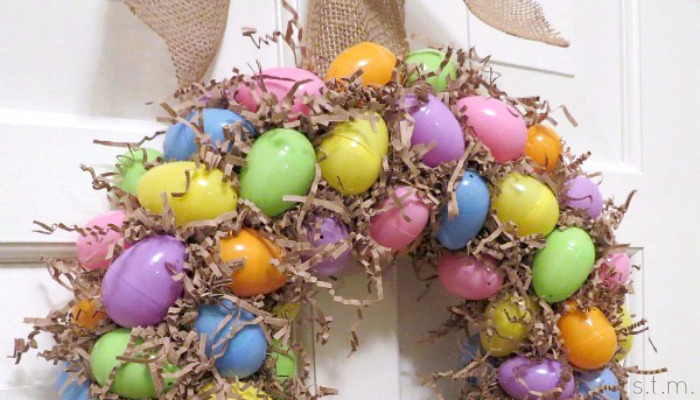
I used pastel eggs, brown basket filler and burlap ribbon for my wreath, but you could use whatever you have on hand, opt for a less earthy feel or even color block your eggs to suit your style. It really is an adorable idea for Easter décor and easy to make if you have a bit of time and don’t mind playing with a hot glue gun. I hope you enjoy!

*****

Shared at:
Wow Us Wednesdays @ Savvy Southern Style
Inspire Me Tuesday @ A Stroll Through Life
What We Accomplished Wed. @ Green Willow Pond
What’s It Wednesday @ Ivy and Elephants